
 We go through small bouts of obsessions here. Sometimes it’s a book or a character from a book. Sometimes it’s something else entirely, but last month, and the month before, it was Wolfie the Bunny. Now, if you’re unfamiliar with this book head on over to my review and check it out. However, if you experienced this yourself, you’ve come to the right place. It so happened that we went on a four day road trip during this obsession and so Wolfie the Travel Pillow was born because the way Bug sleeps in the car has me cringing and starting a savings account for the chiropractors he’ll eventually need to visit.
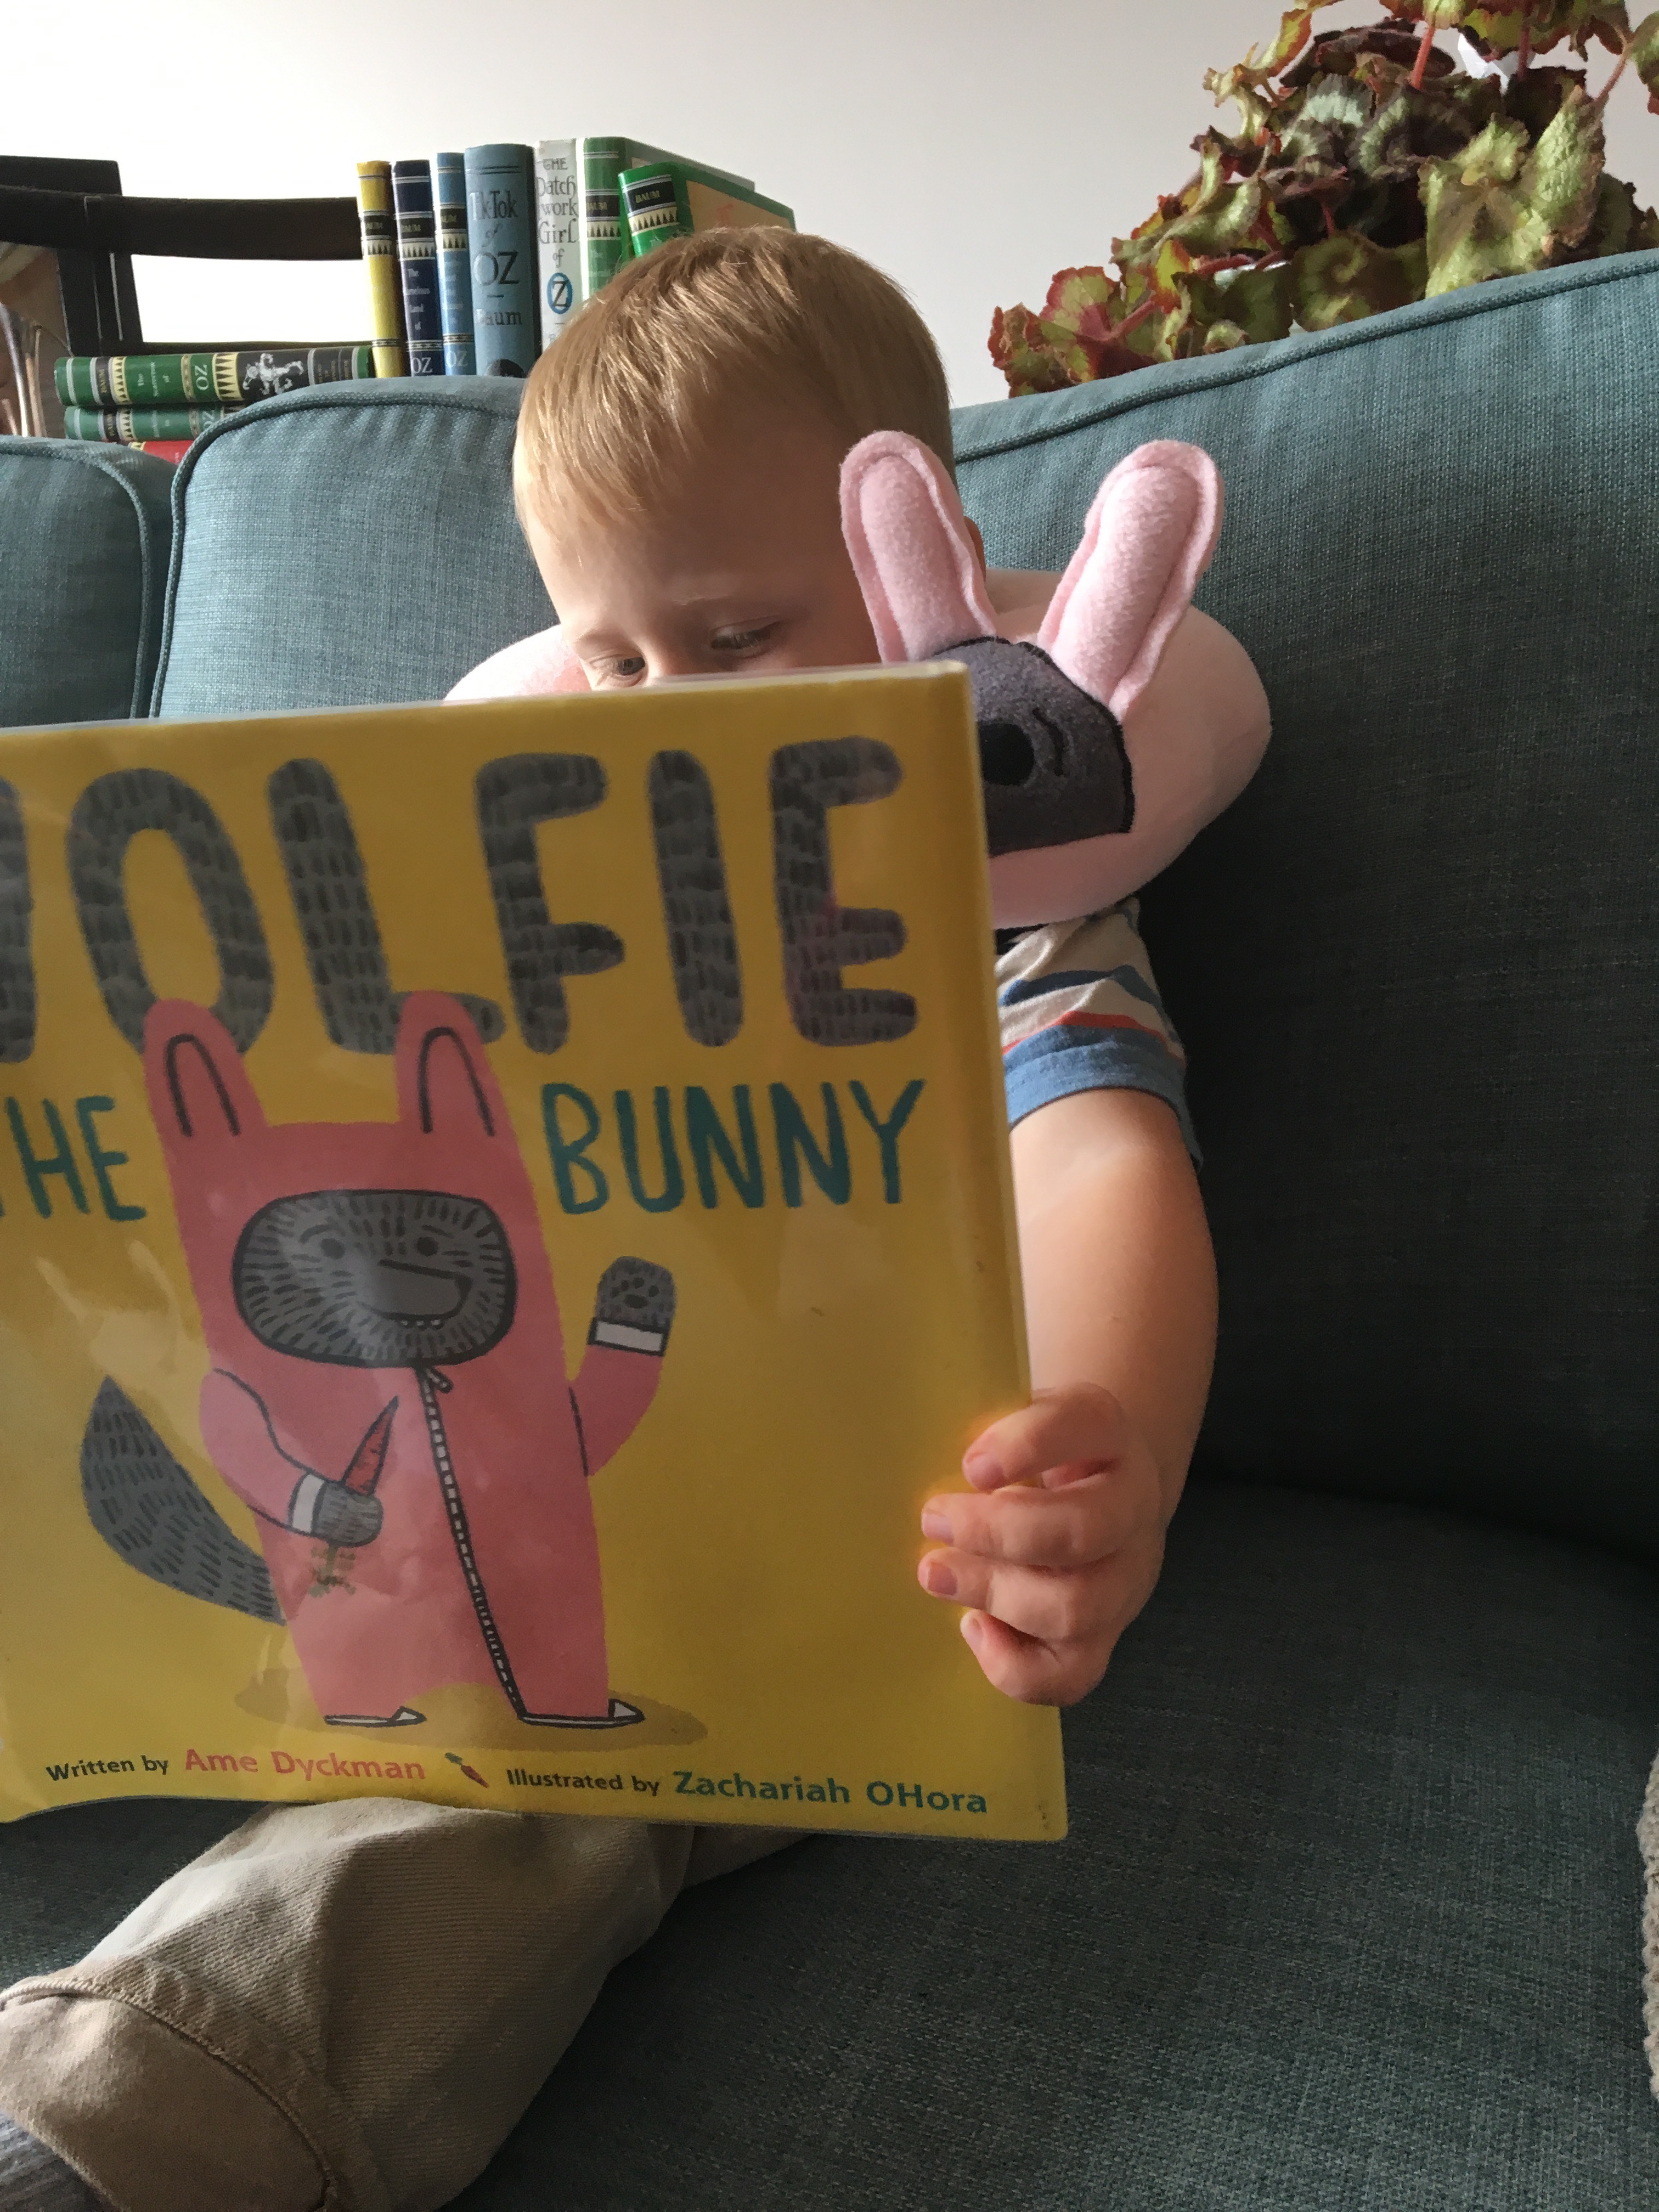
Wolfie was a hit but didn’t actually make it to the car until a week after he was completed. He was too busy building trains and reading his own story. And when he did finally make it into the car he wasn’t used exactly the way I’d envisioned. Bug said Wolfie wanted to give him snuggles and cheek kisses instead of neck hugs. Oh well, it still works.
Tutorial:
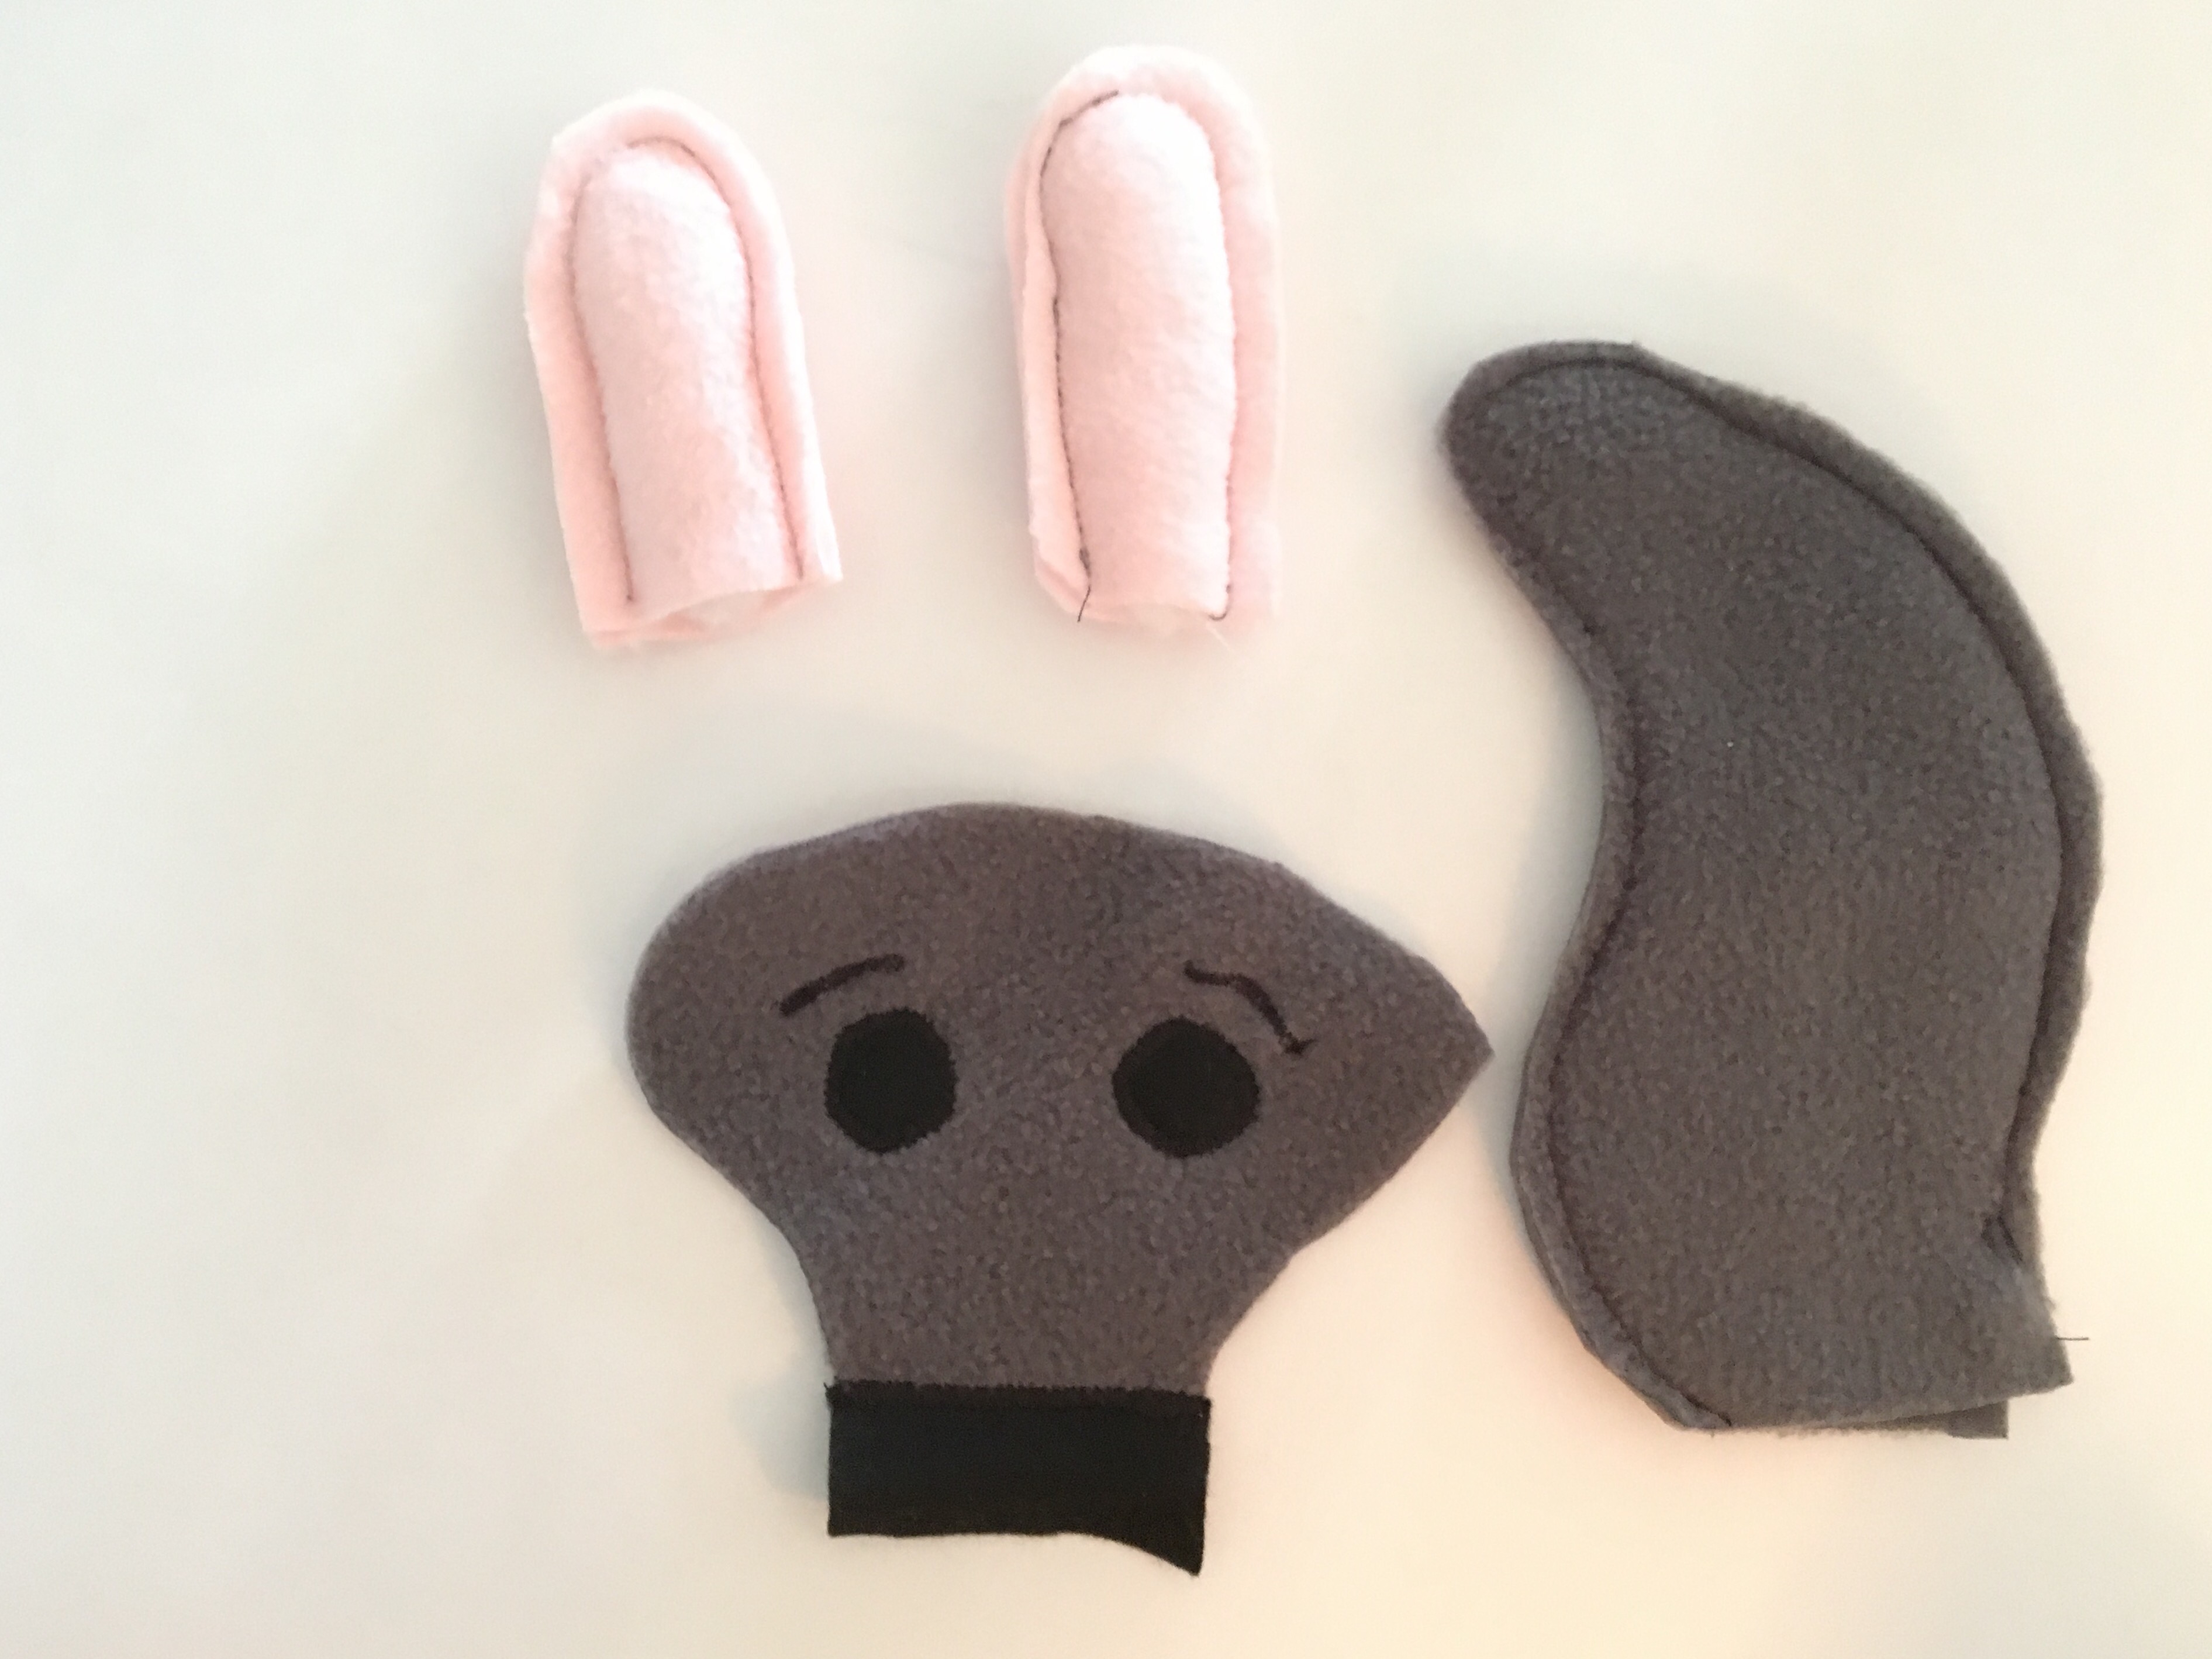
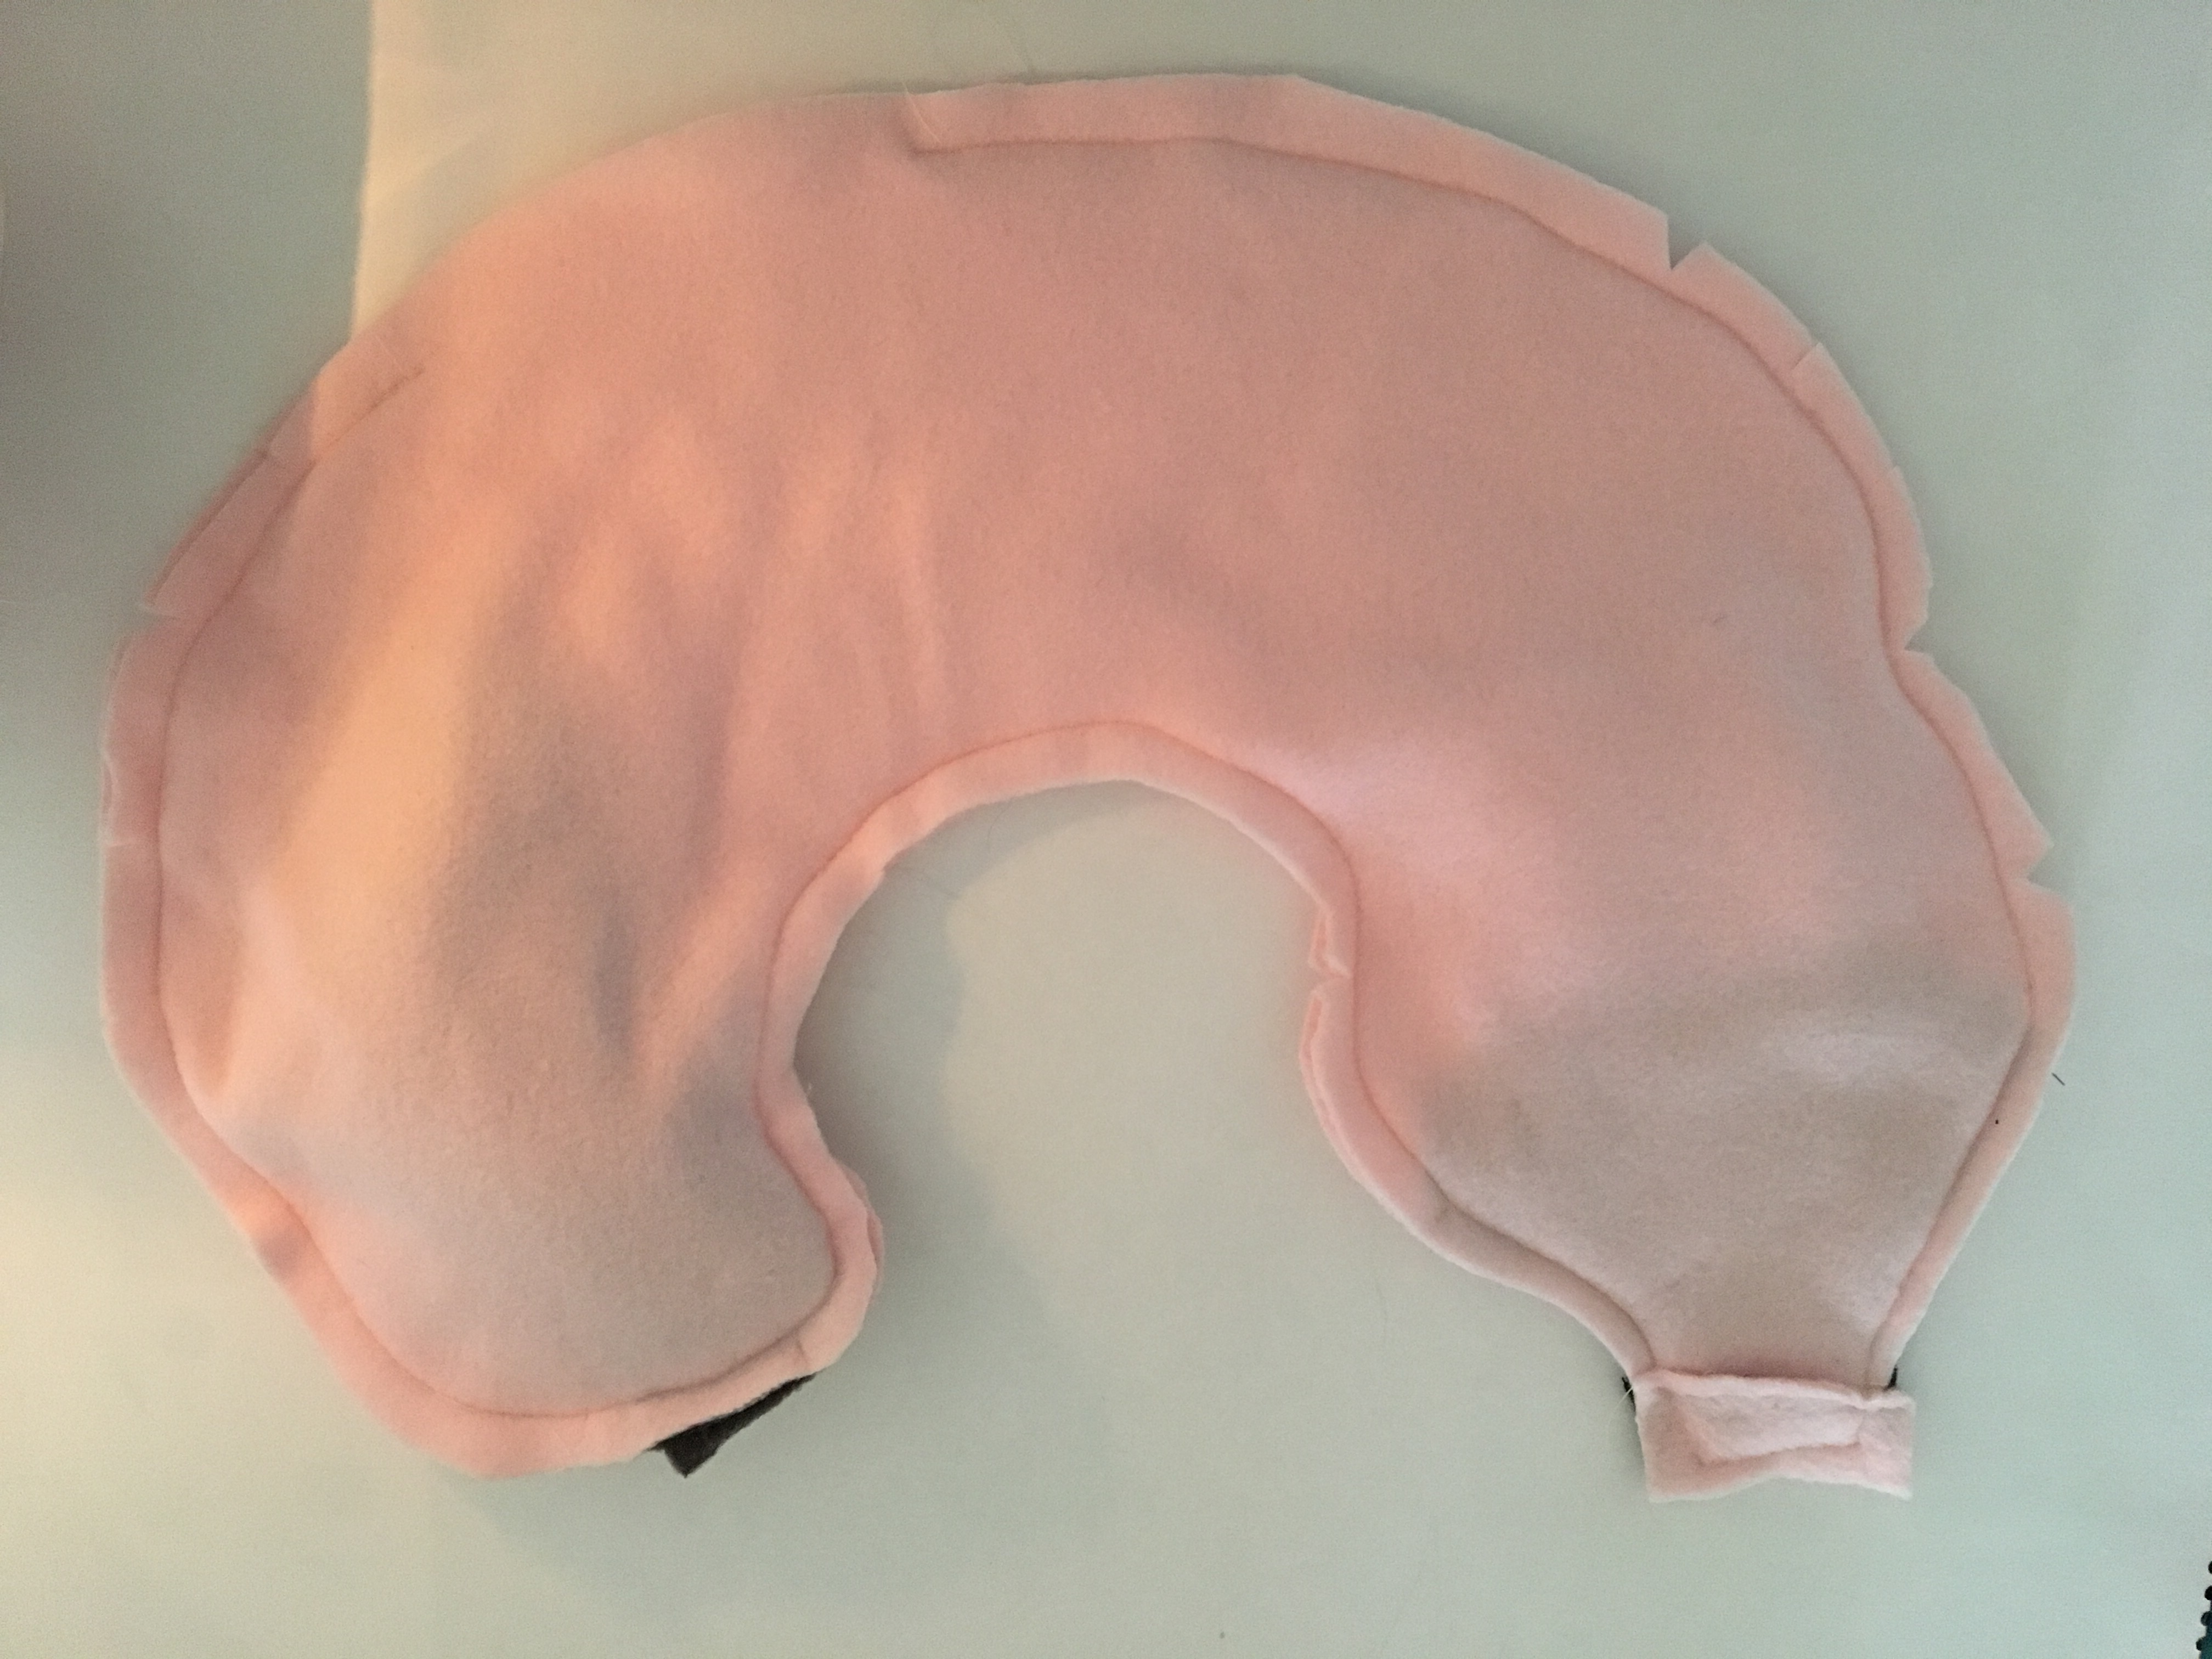
- First you’ll want to cut out your fabric. I used a thick fleece so the pillow would be soft and snuggly. Here is the link to a pattern. I just used scraps from my fabric cupboard but the main pieces of fabric would probably be about 1/8 a yard. You’ll need:
- 2 x Pink fabric for the Main Body (A & B)
- 1x Gray for the Face (C)
- 2 x Black Felt for the eyes (D & E)
- 2 x Gray for the Tail (F & G)
- 1 x White for the Teeth (H)
- 1 x Black Felt for the Nose (I)
- 4 x Pink for the Ears (J, K, L, & M)
- Black, Gray, and Pink thread
- Batting for stuffing
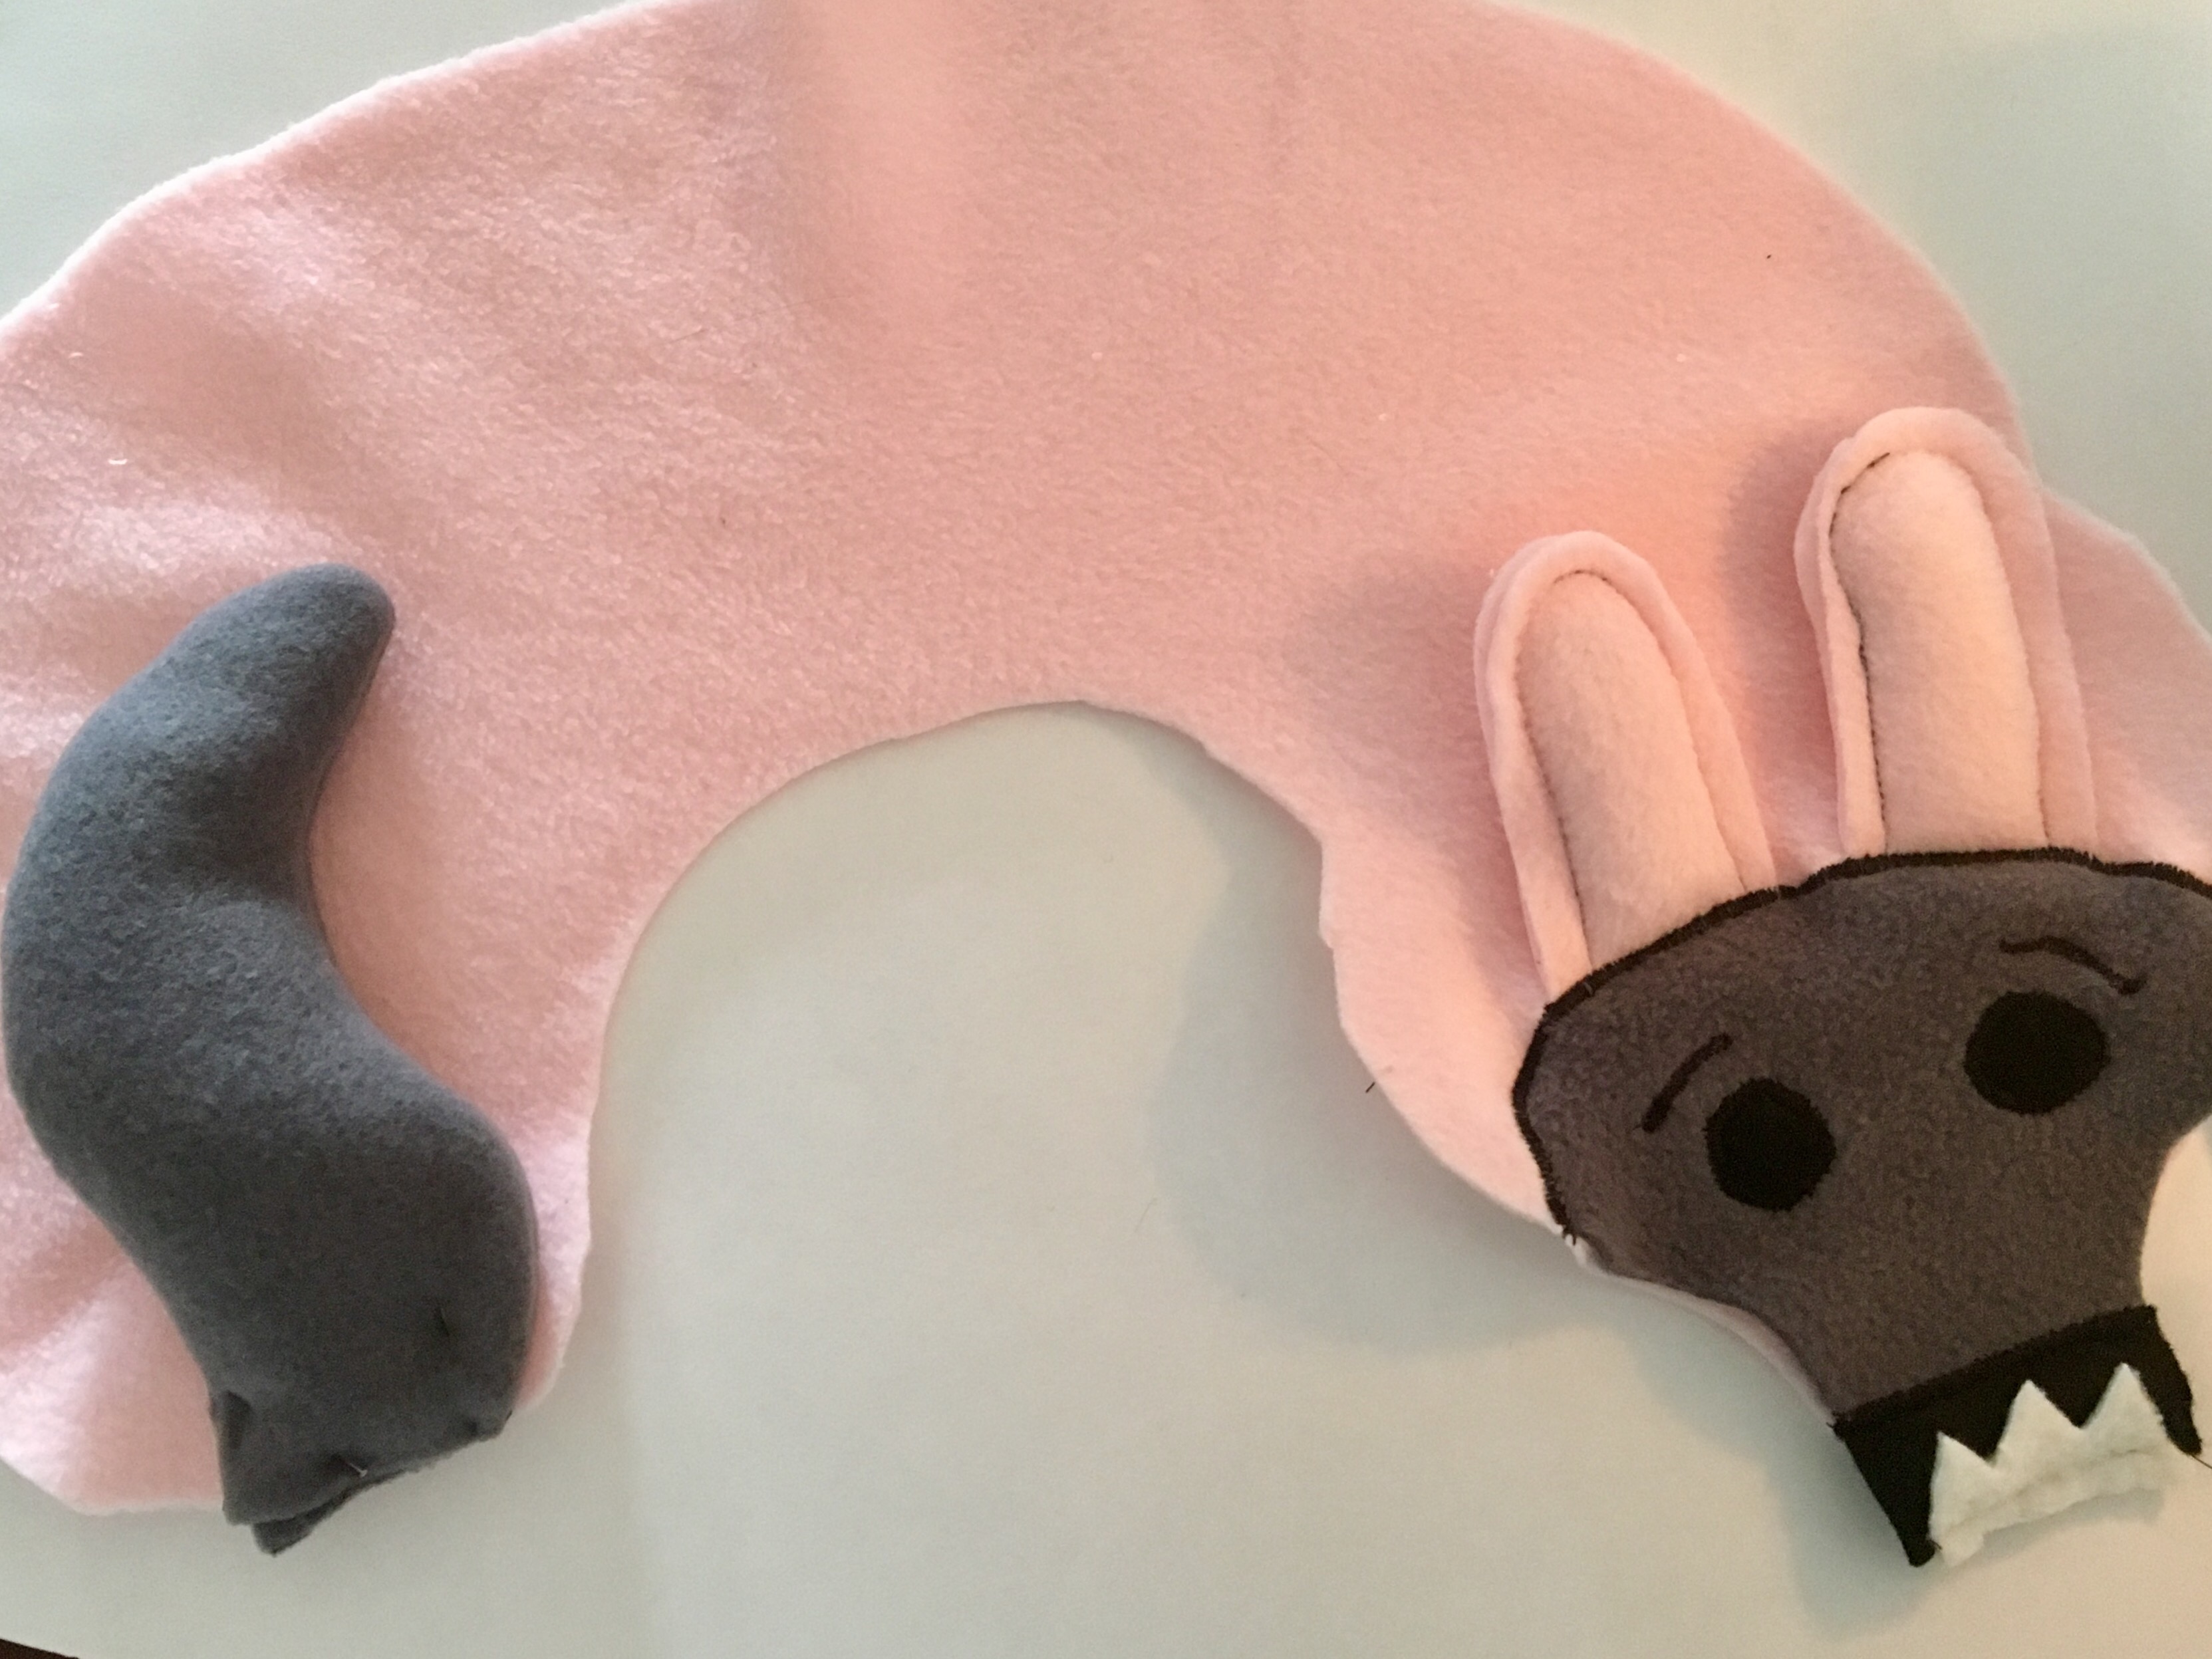
- Once everything is cut, begin by pinning the tail (F & G). Sew together and then turn and stuff.
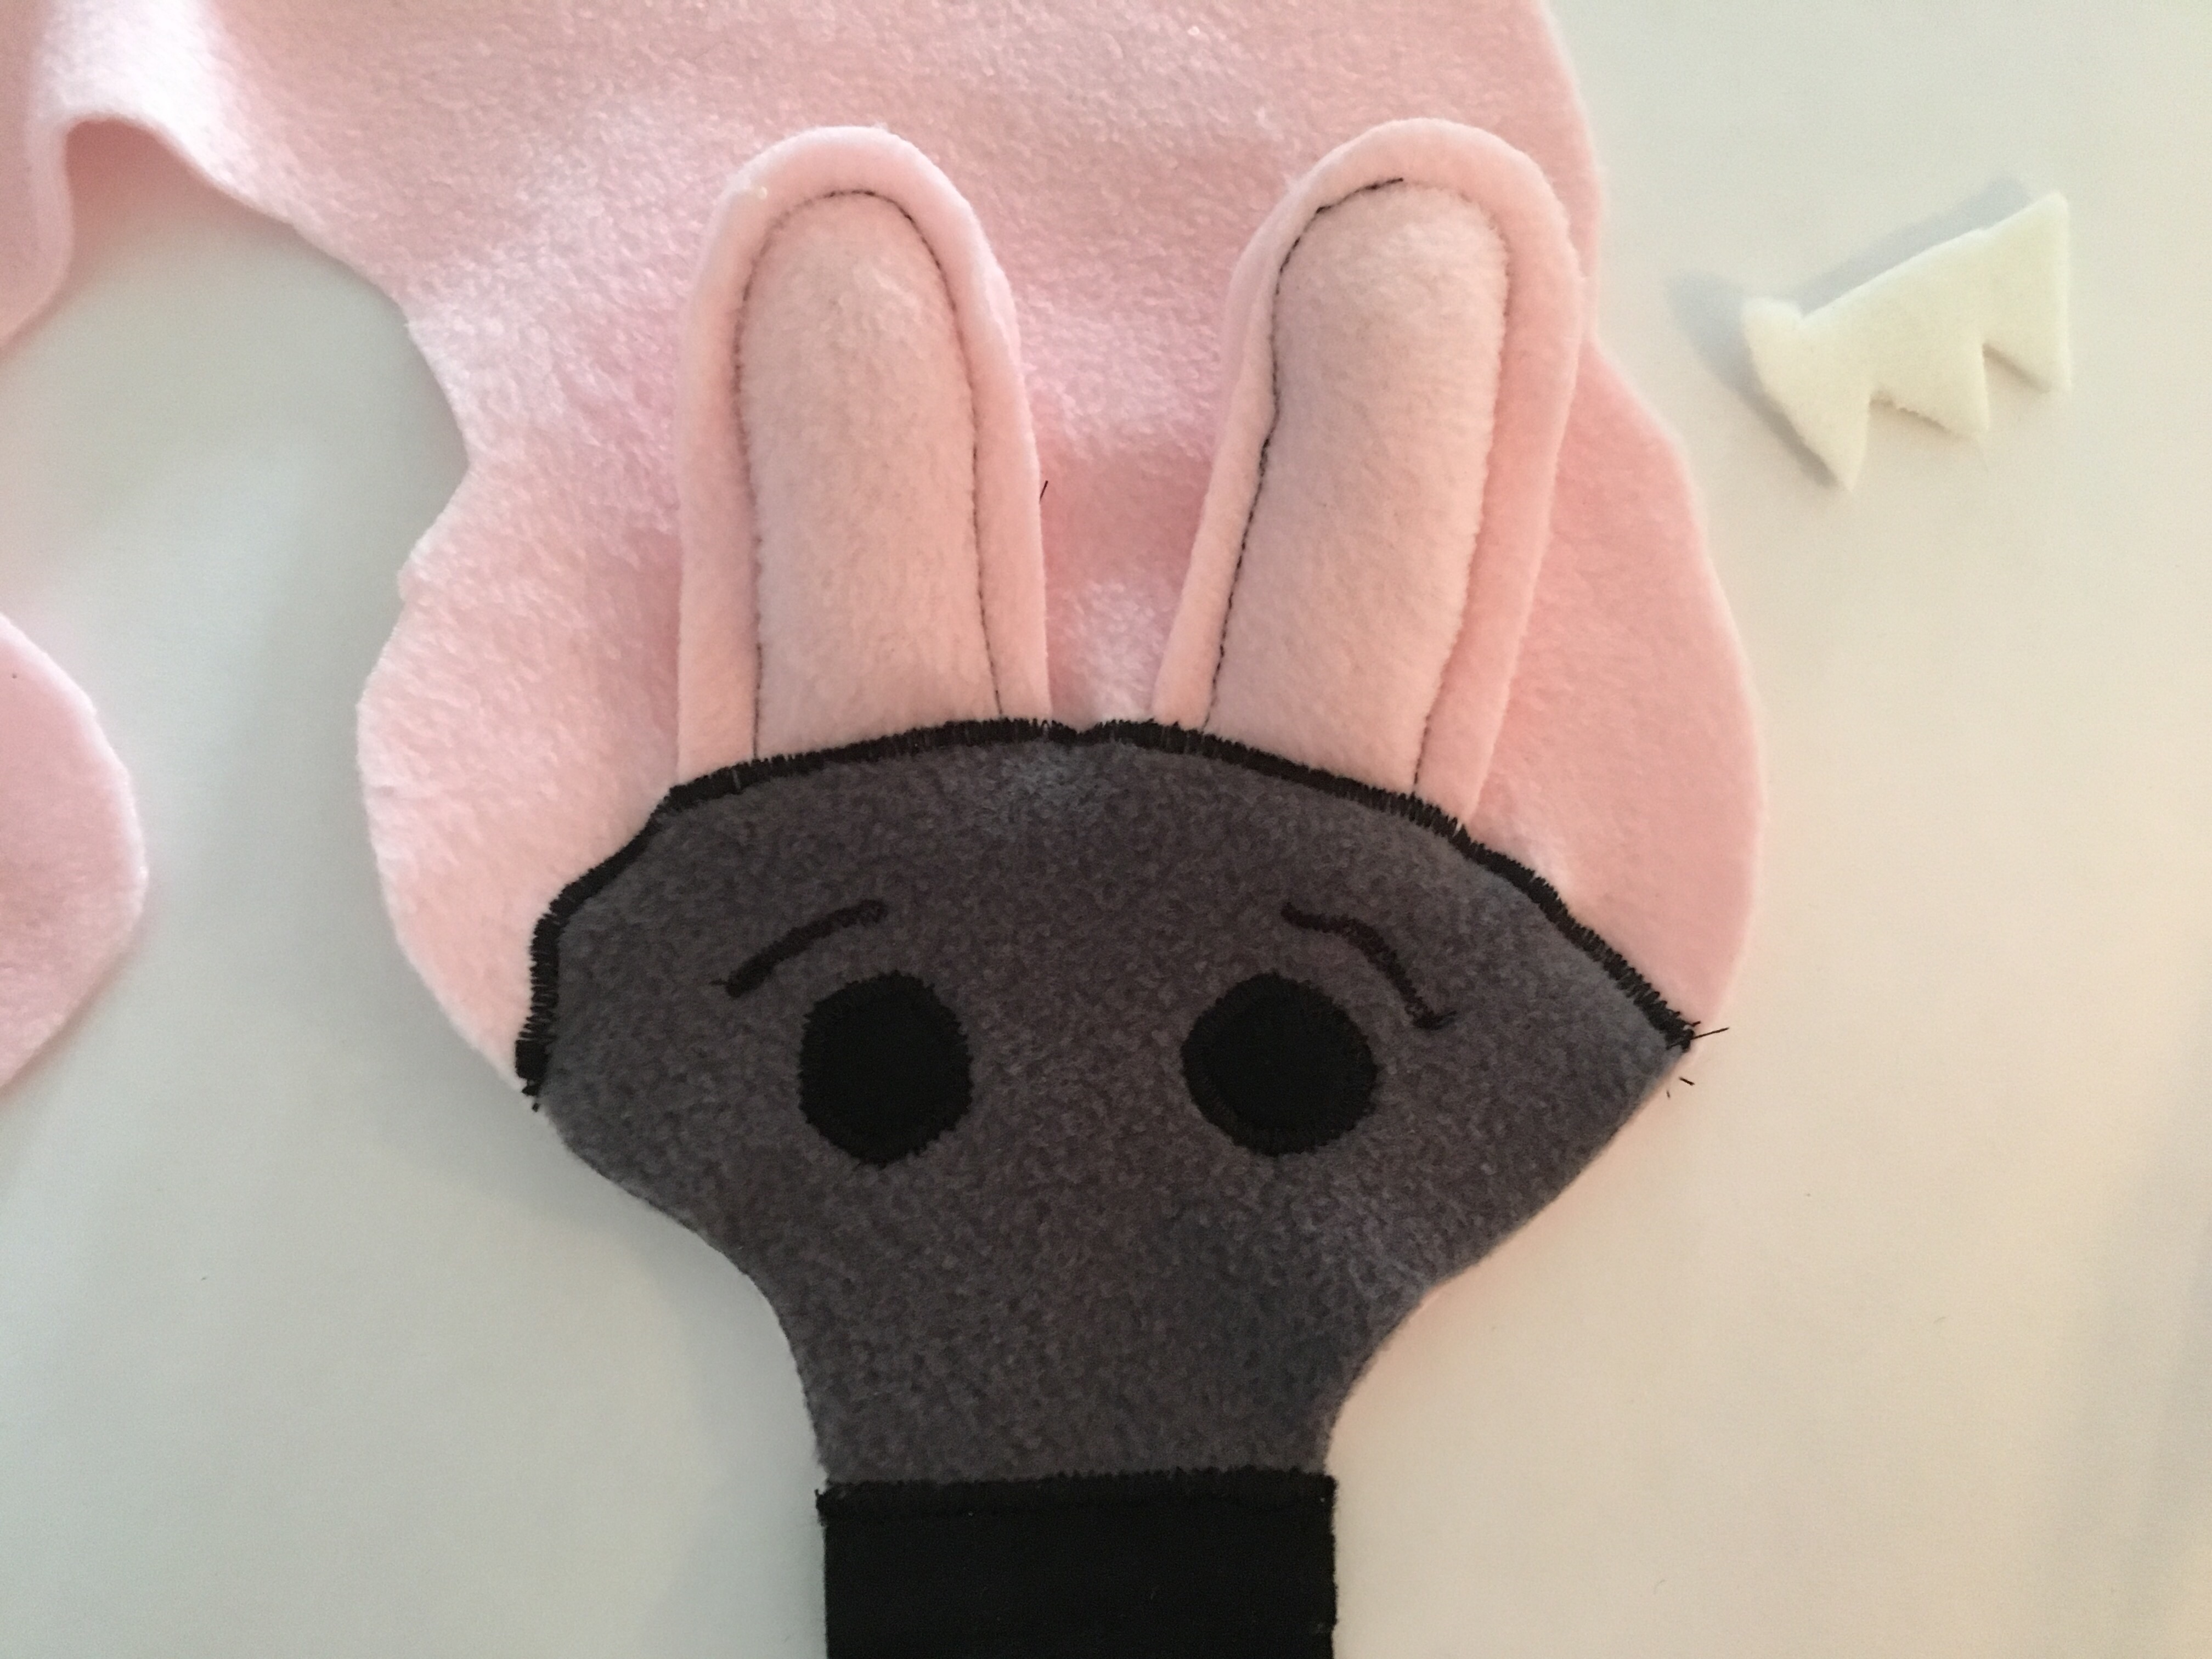
- Then apply the Eyes (D & E) on to the face using a zig zag stitch. At this point you’ll also want to sew the eyebrows.

- Finish off the face by adding the nose (I)
- Pin and sew the pair of ears. I didn’t turn these because I thought it’d be cuter with a rough edge but you can if you like. Stuff.
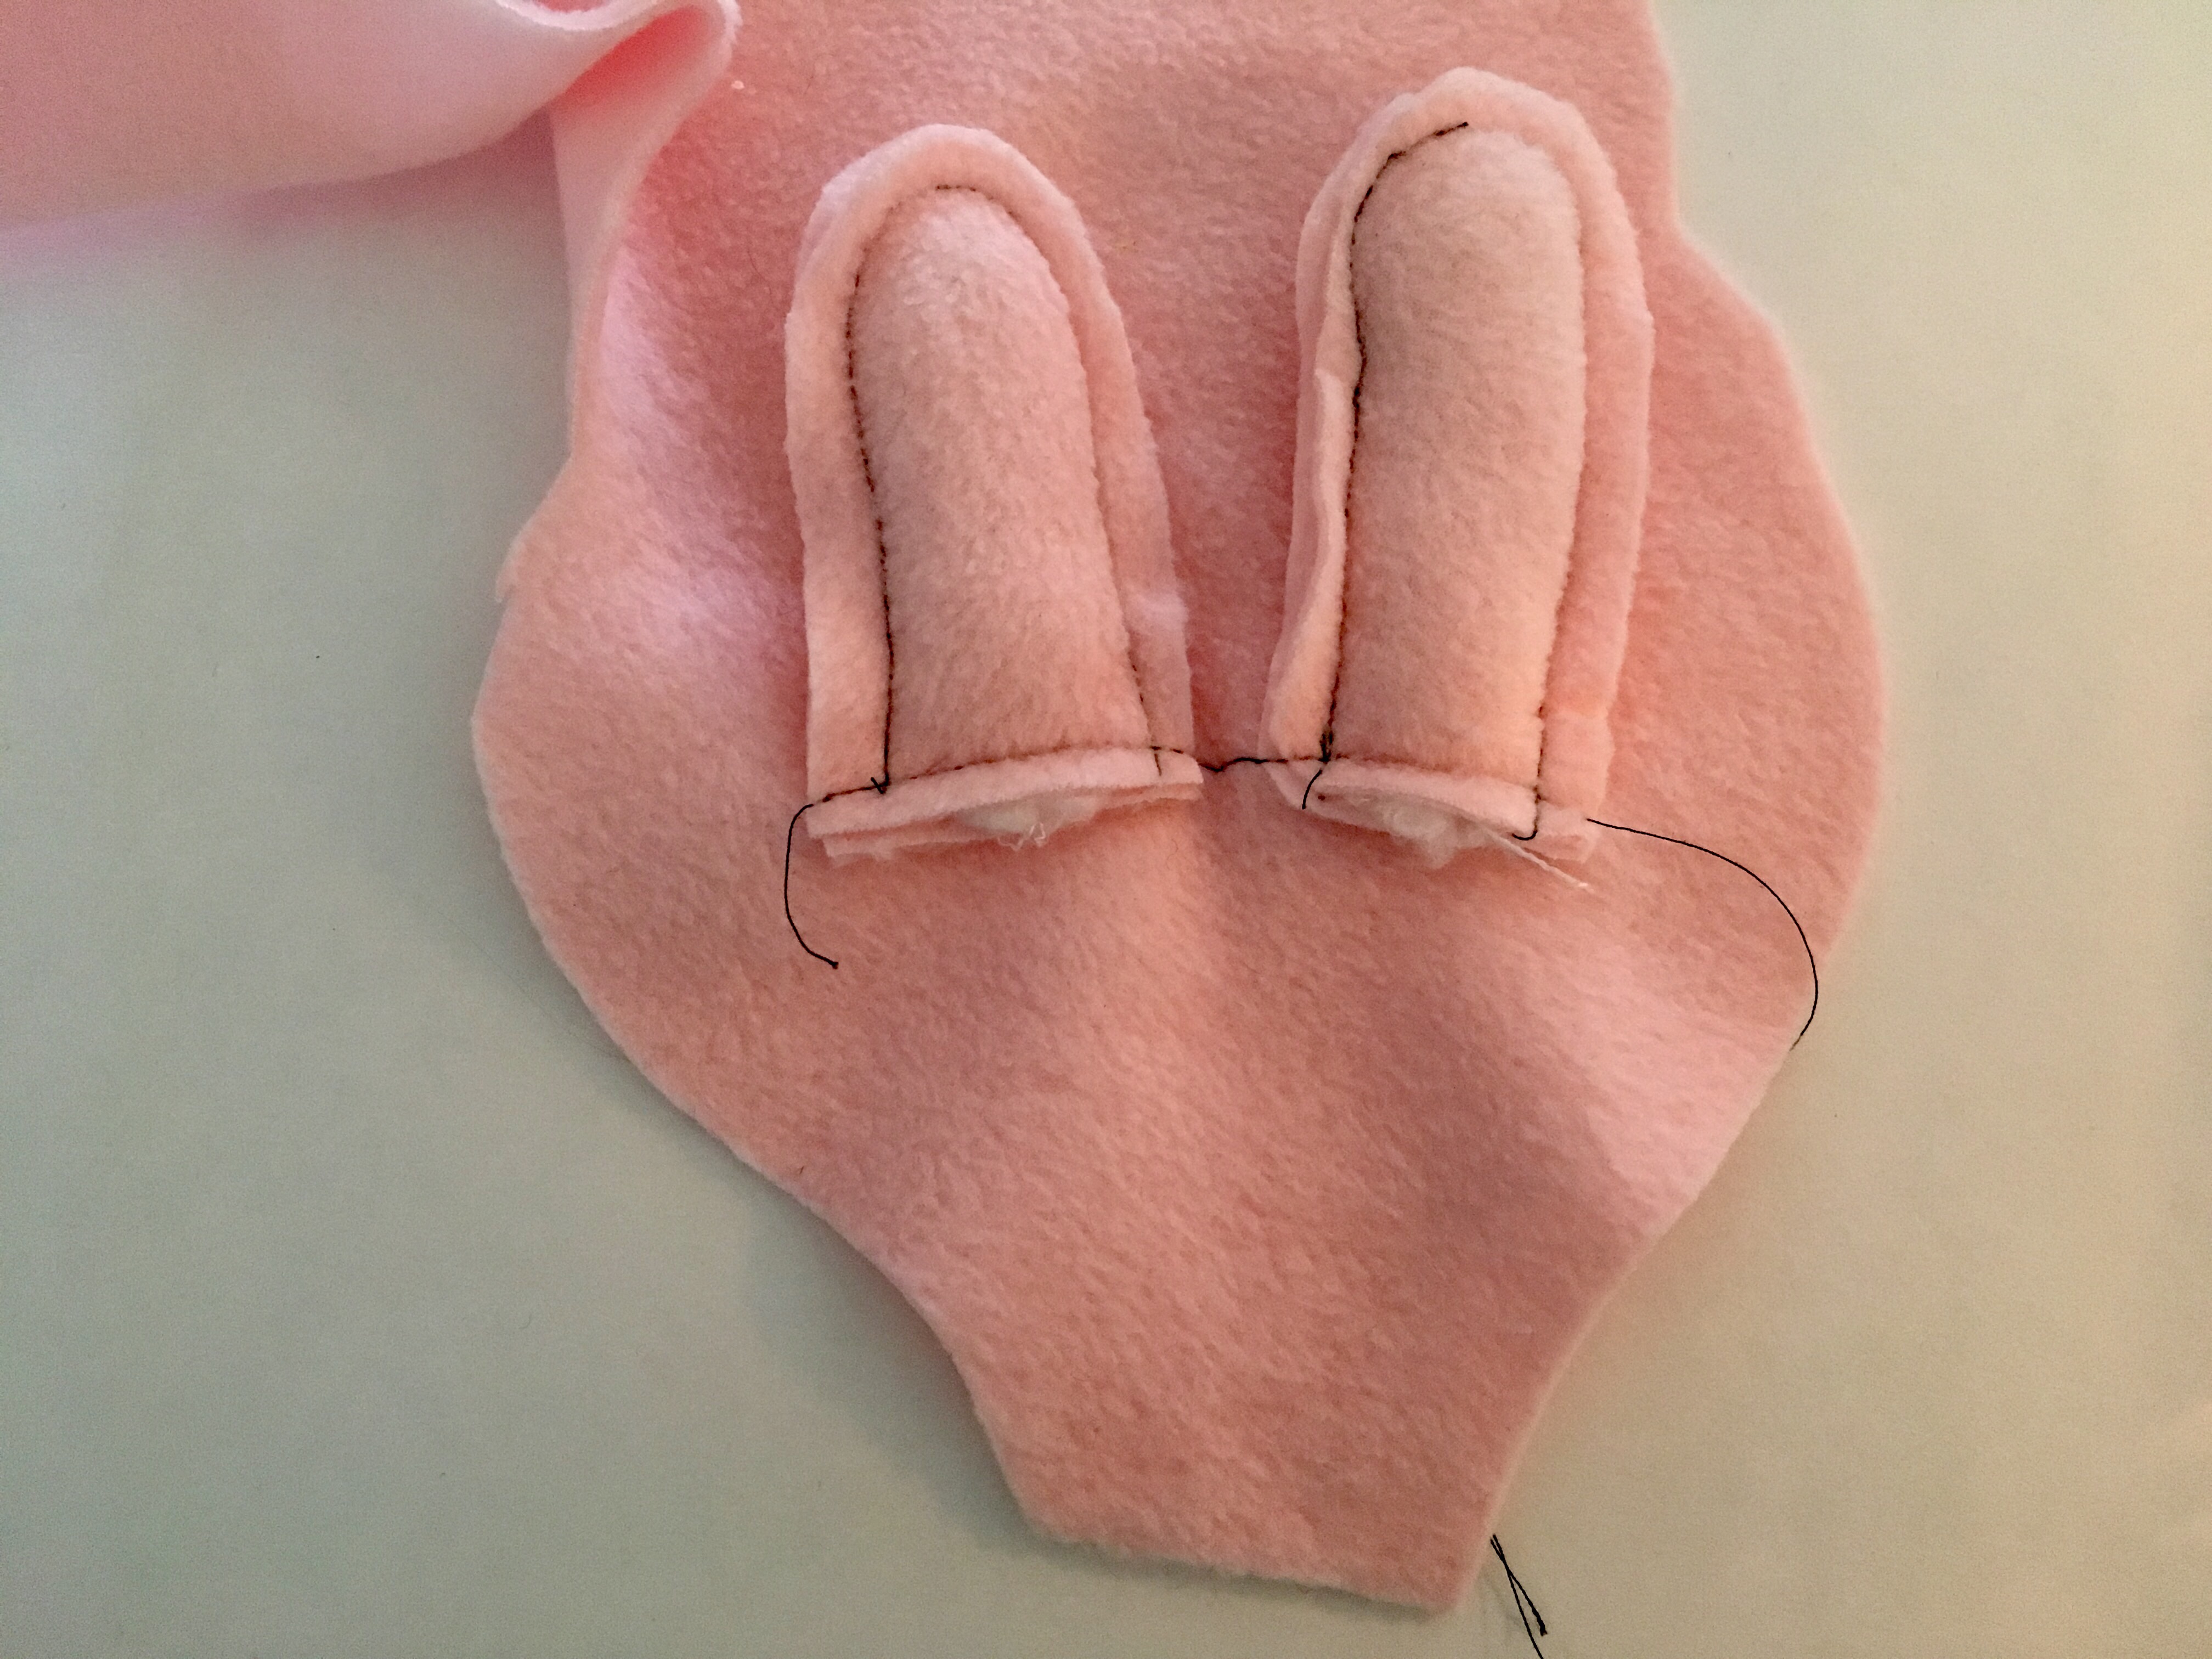
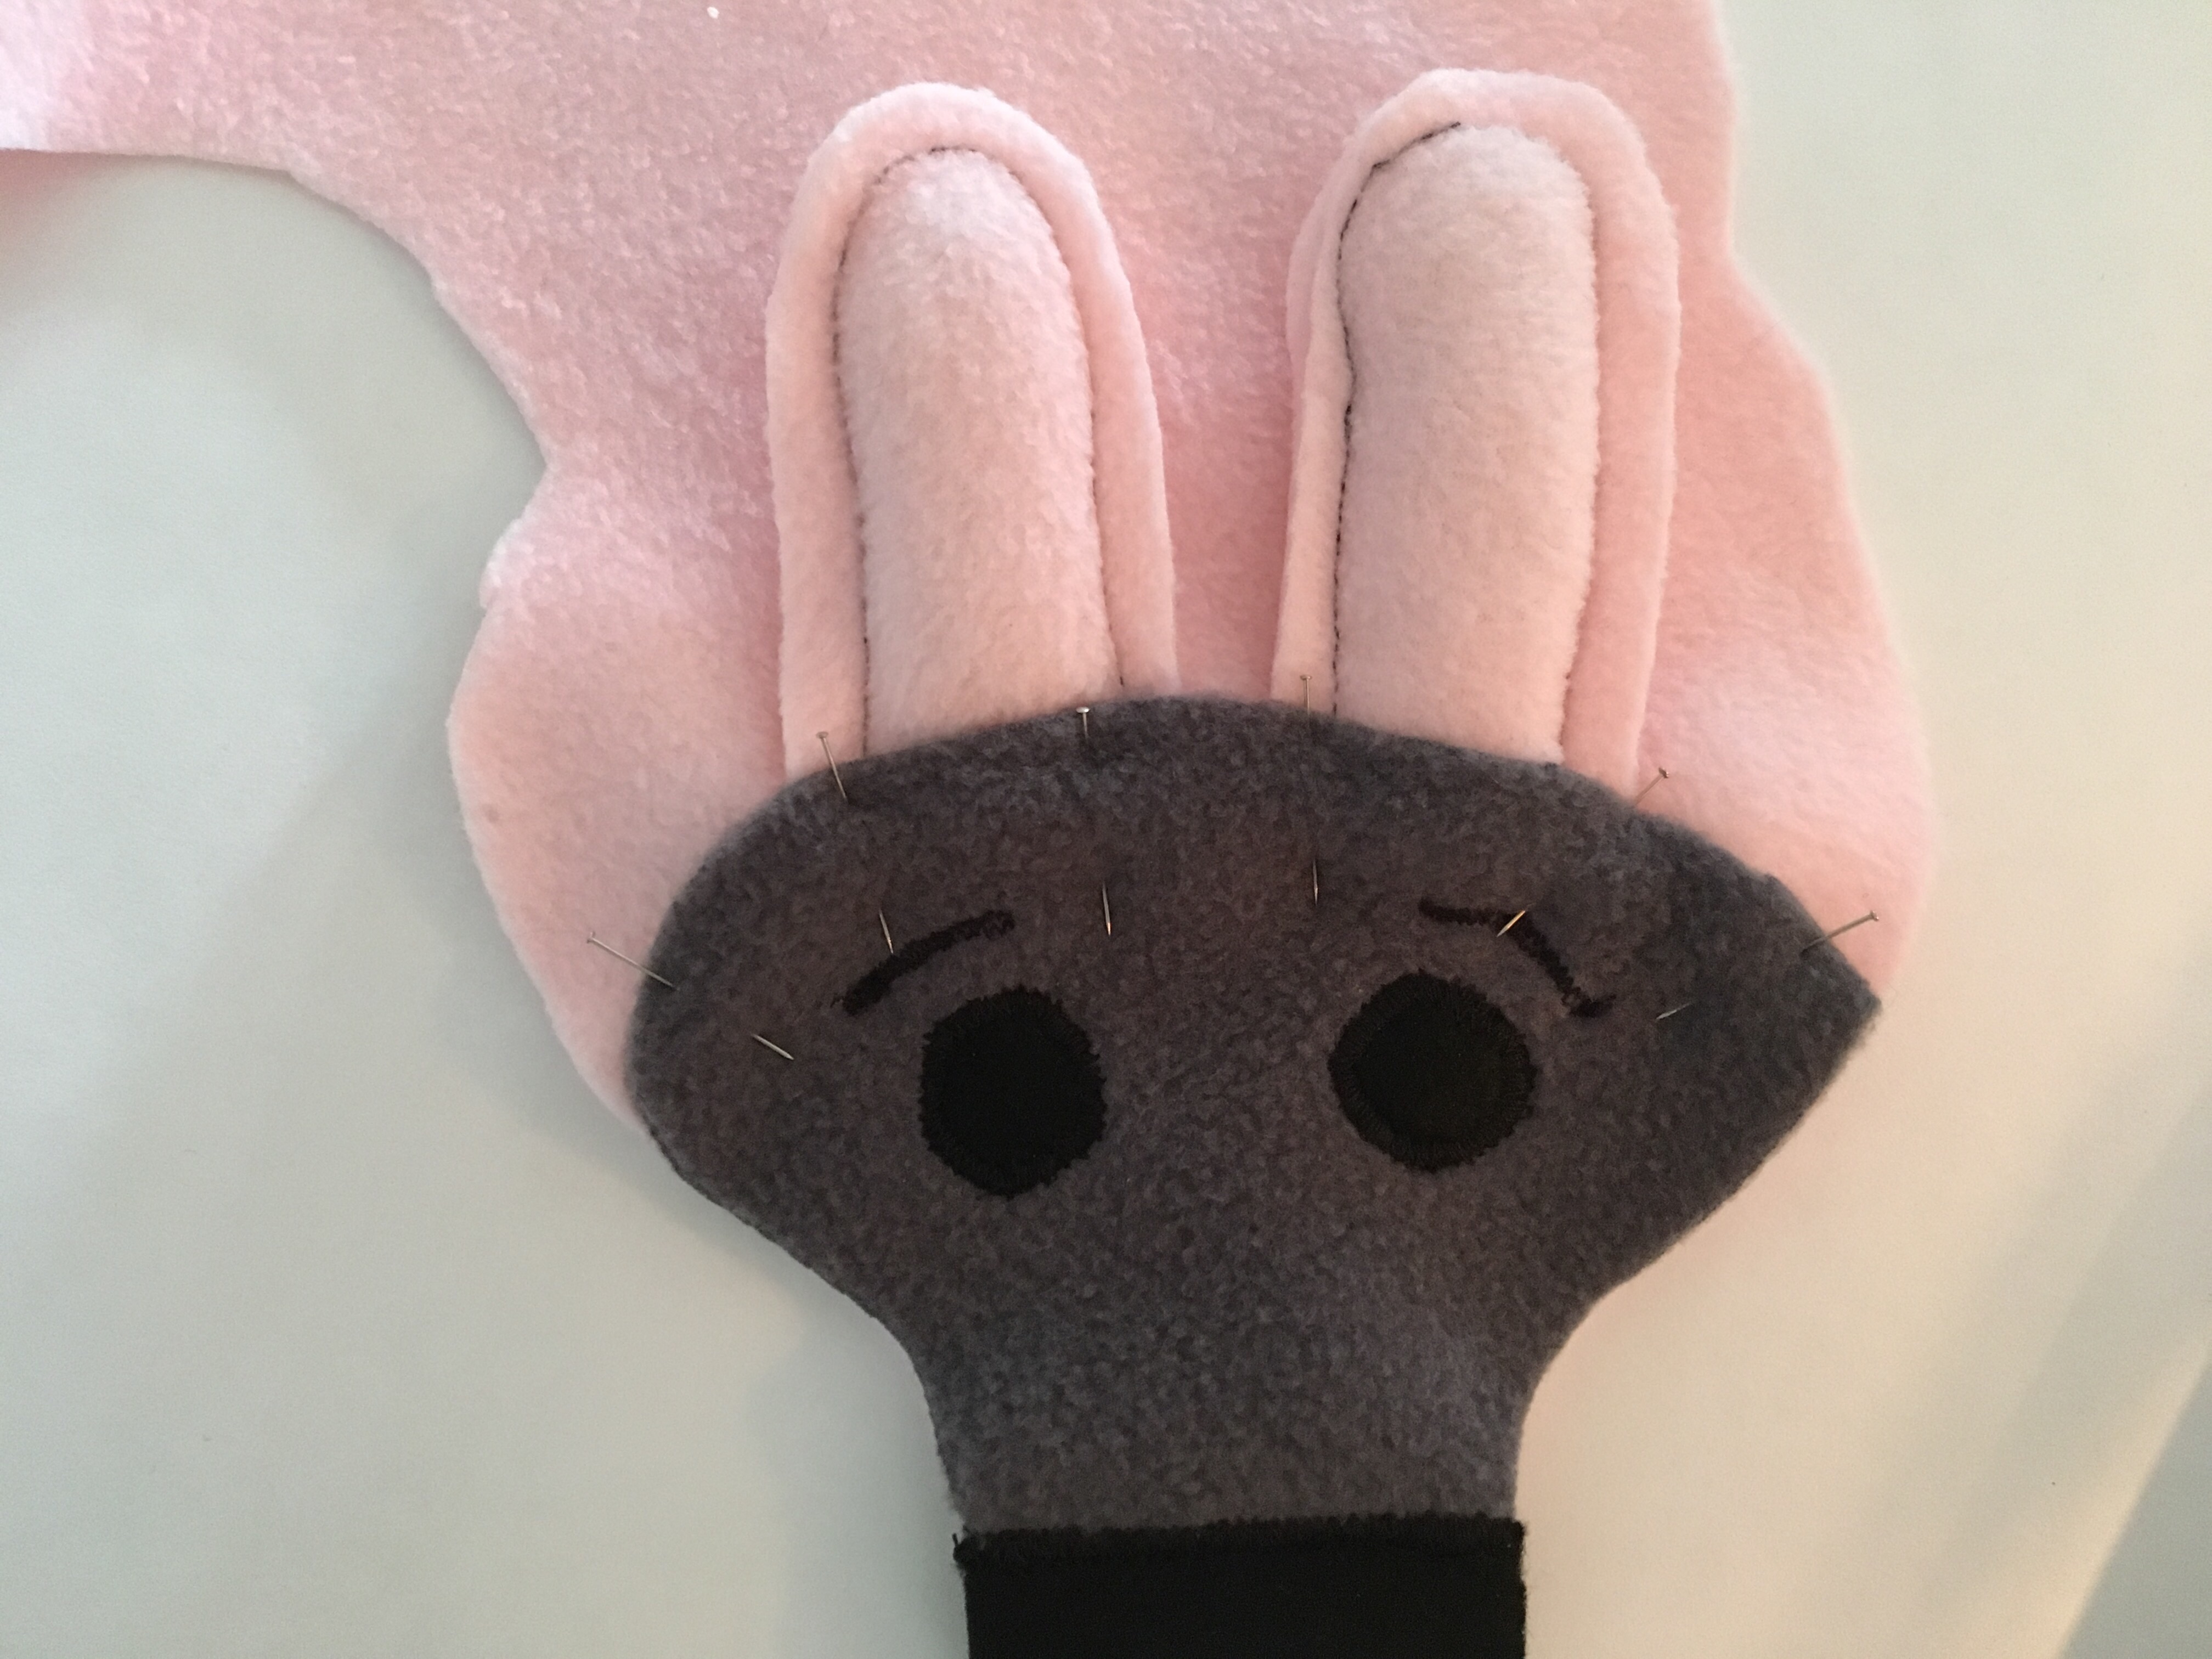
- Pin the ears to the top of the Body (A) and baste.

- Pin the Face (C) to the Body (A) so that it covers the bottom of the Ears and zig zag stitch the face on. Trim extra fabric left after attaching the face.


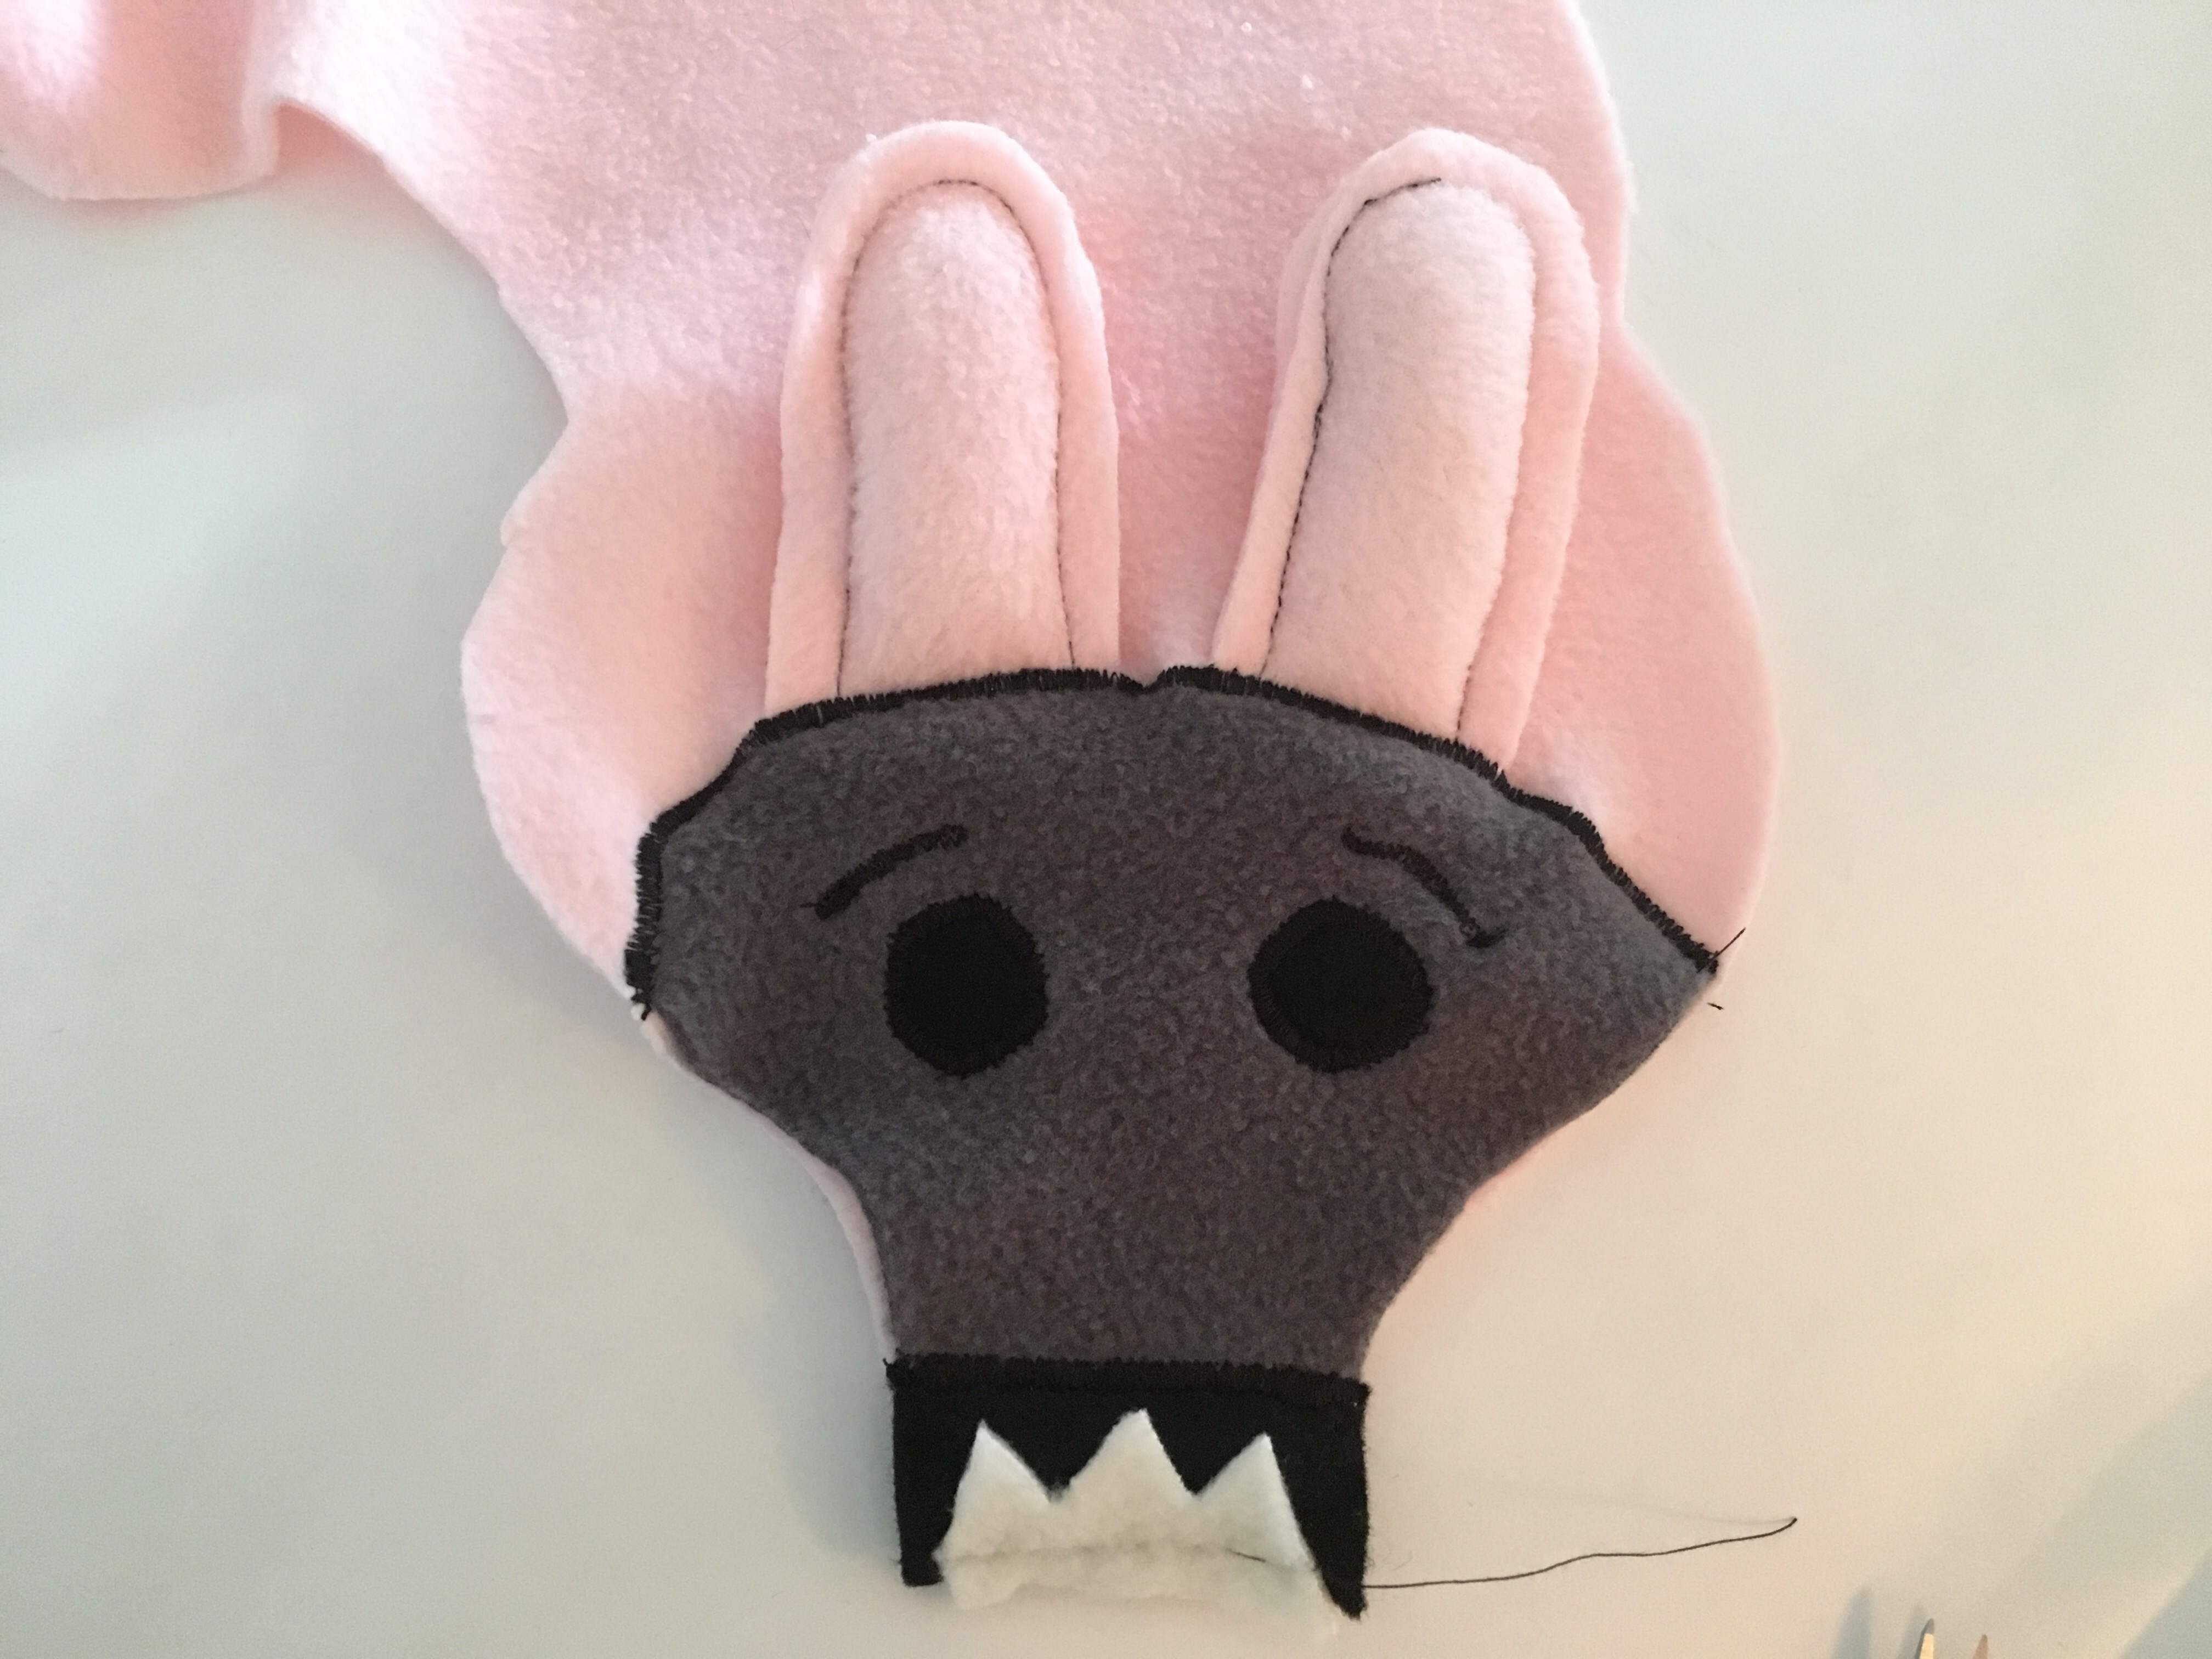
- Now attach the Teeth (H).

- Baste the Tail to the Main Body (A) as shown.

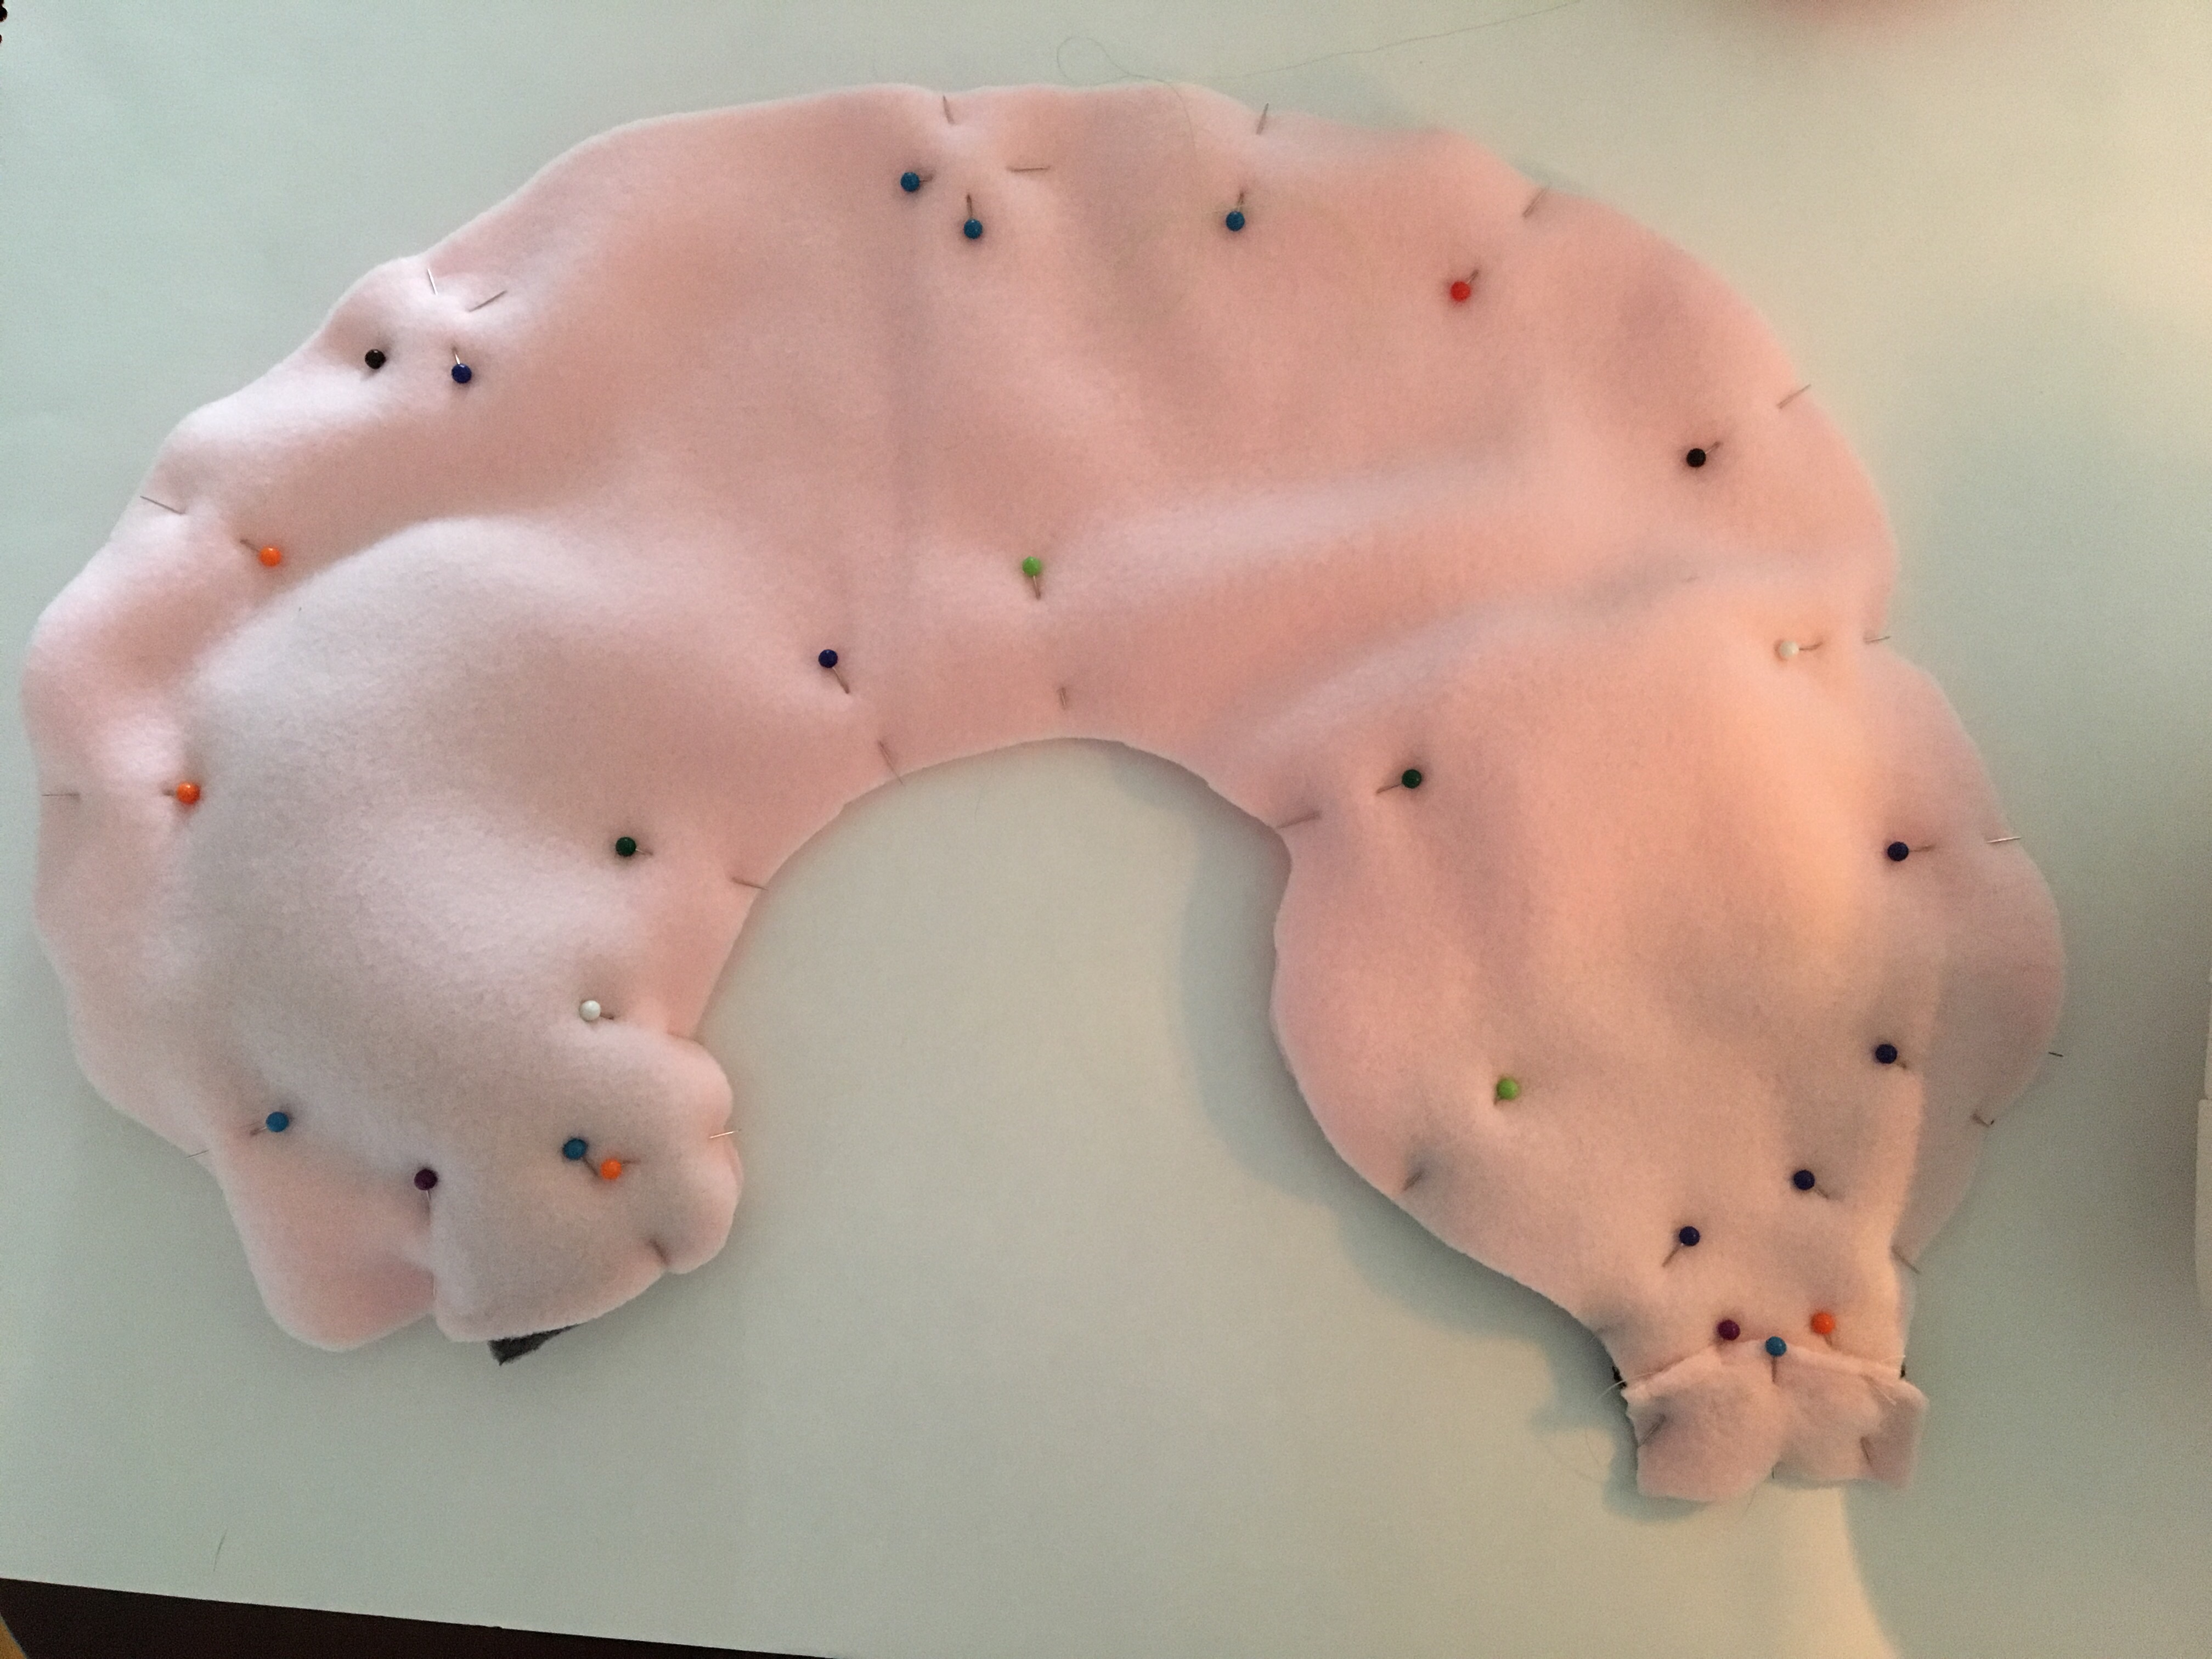
- Now, keeping the Tail flush against Main Body A, pin Main Body B to the corresponding piece. (I found I attached my nose too far out on the face and needed to add an extra piece to Main Body B to compensate. Don’t worry if you need to do this too. It’s unnoticeable.

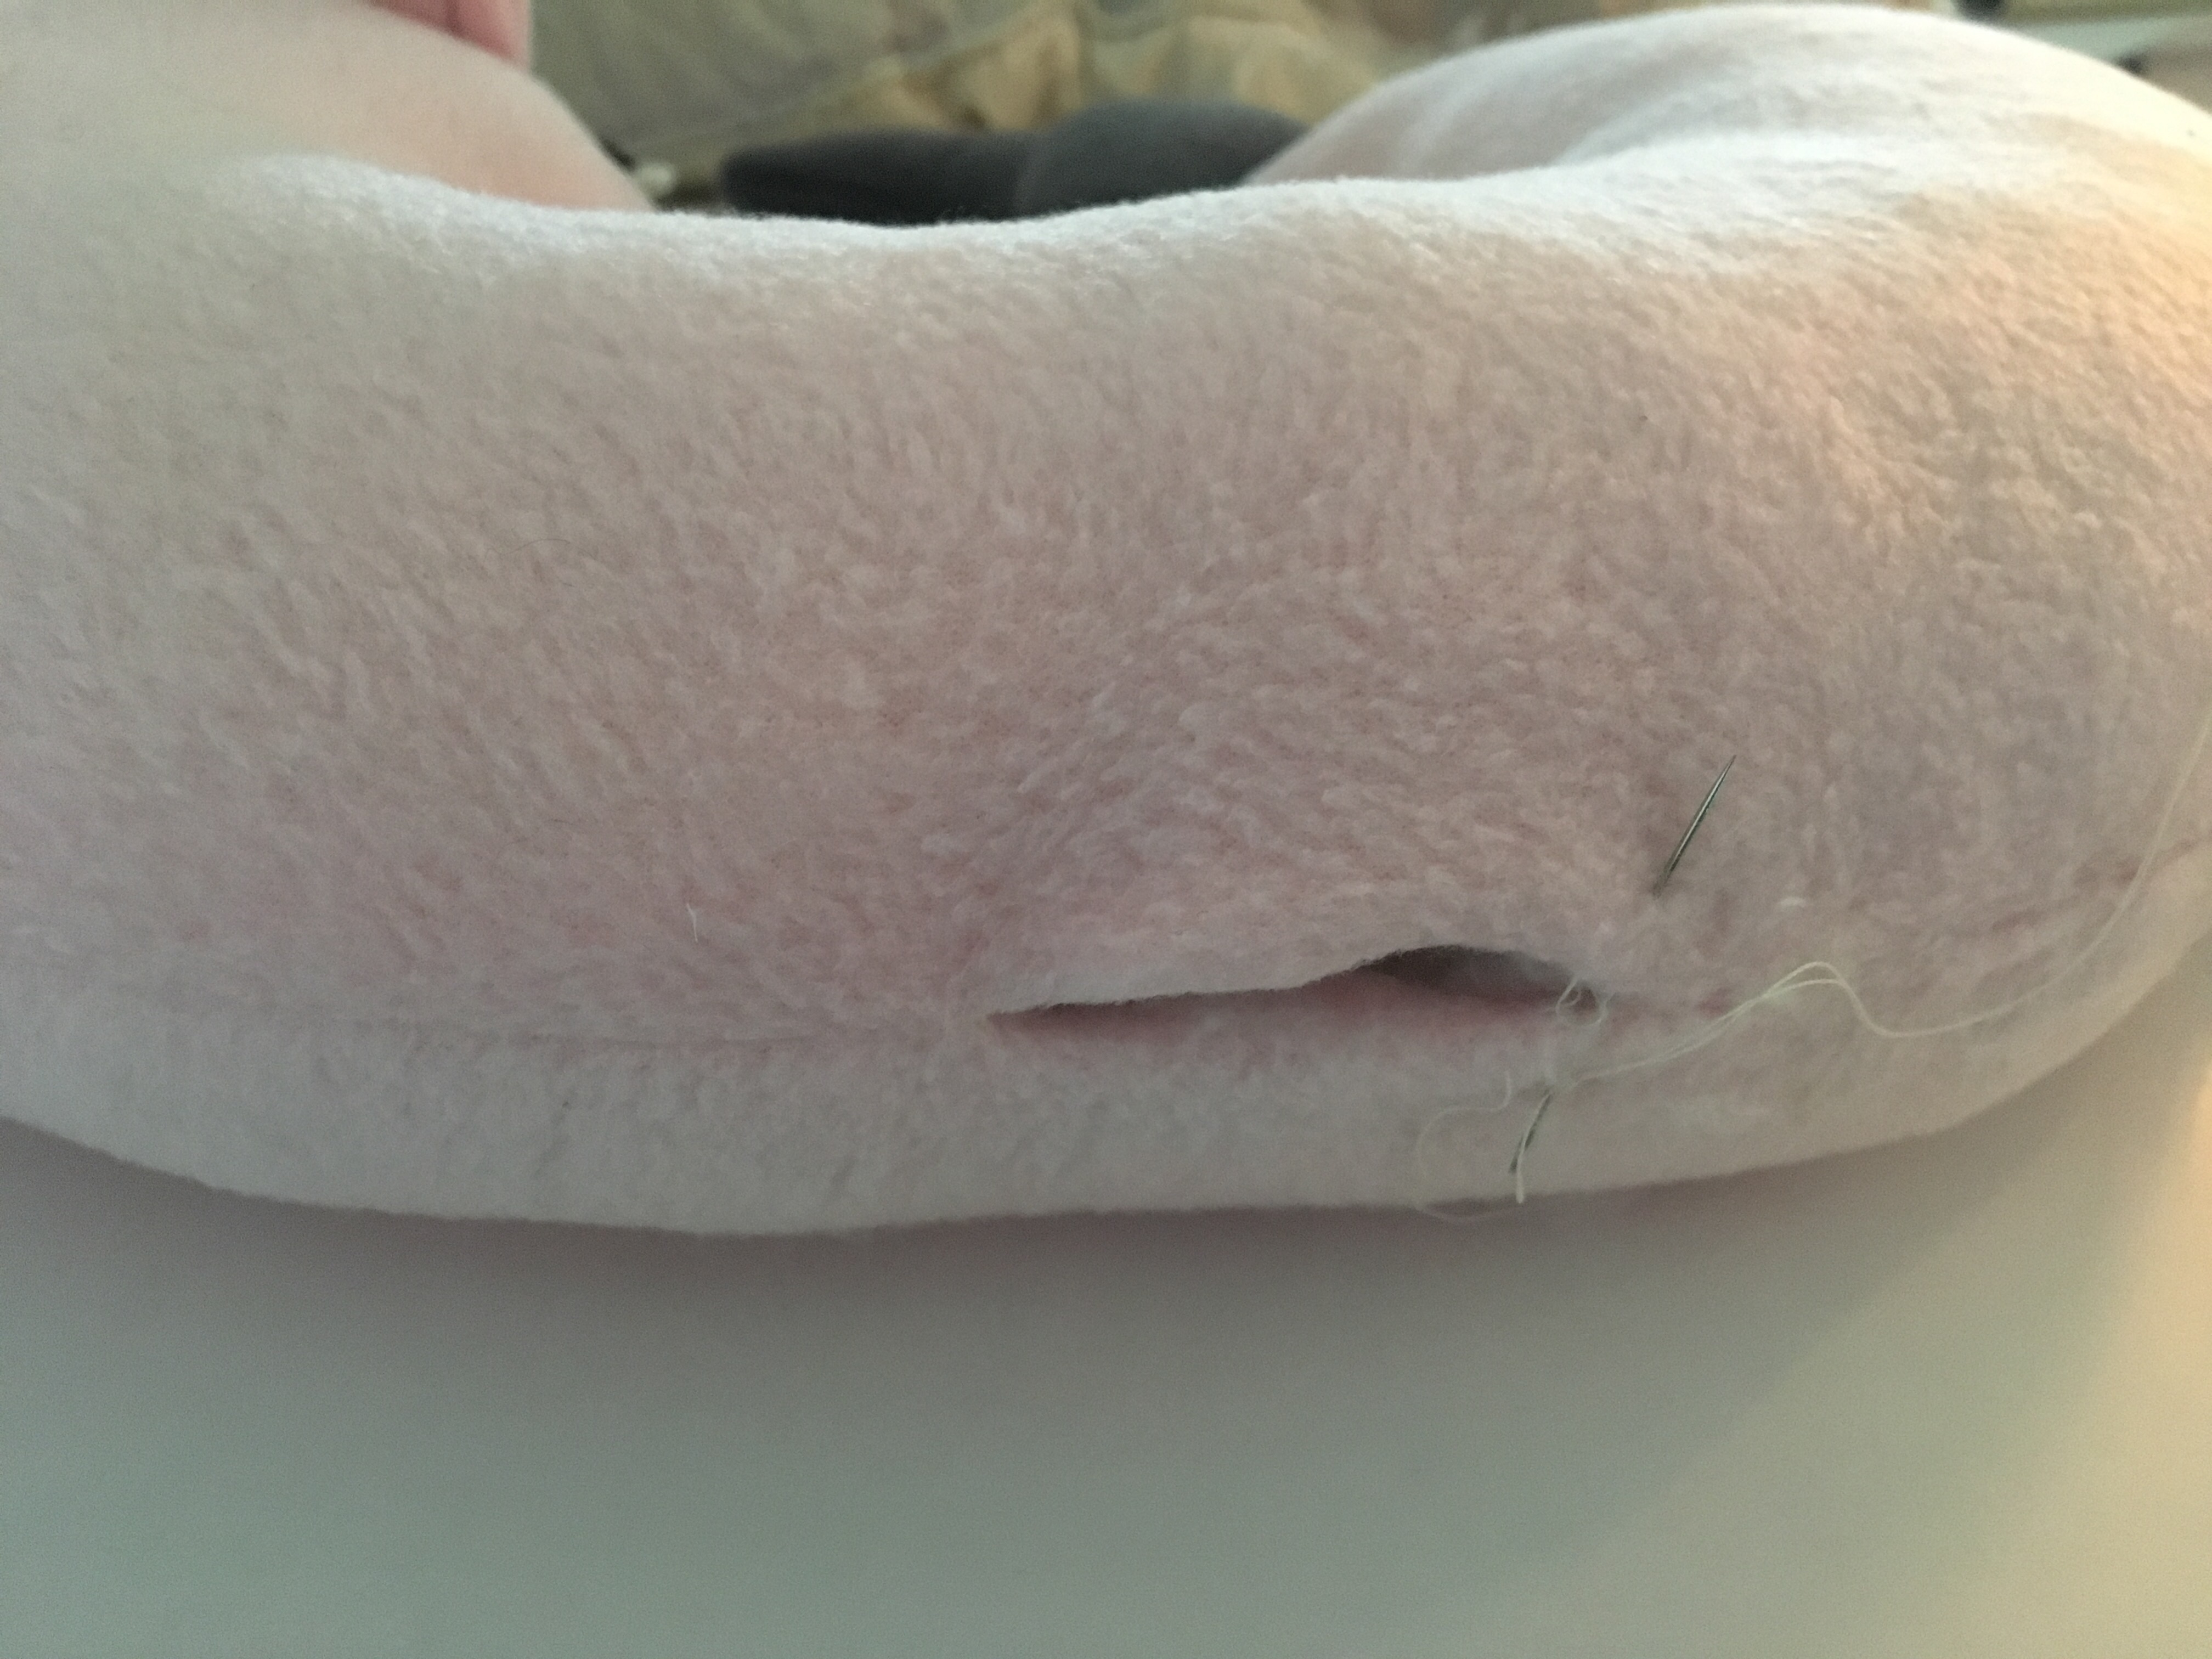
- Leaving a couple inch gap (pictured), sew Main Body A & B together. Once complete trim along the curves.

- Turn the piece so that the tail, ears and face are facing outwards. Then using small pieces, stuff your Wolfie.

- When he’s at the desired fullness, sew shut the back gap.

- At this point I trimmed Wolfie’s teeth so they were dorkier vs. pointy/scary.

And you’re done! How did your Wolfie turn out? I’d love to hear any thoughts, feedback, or questions.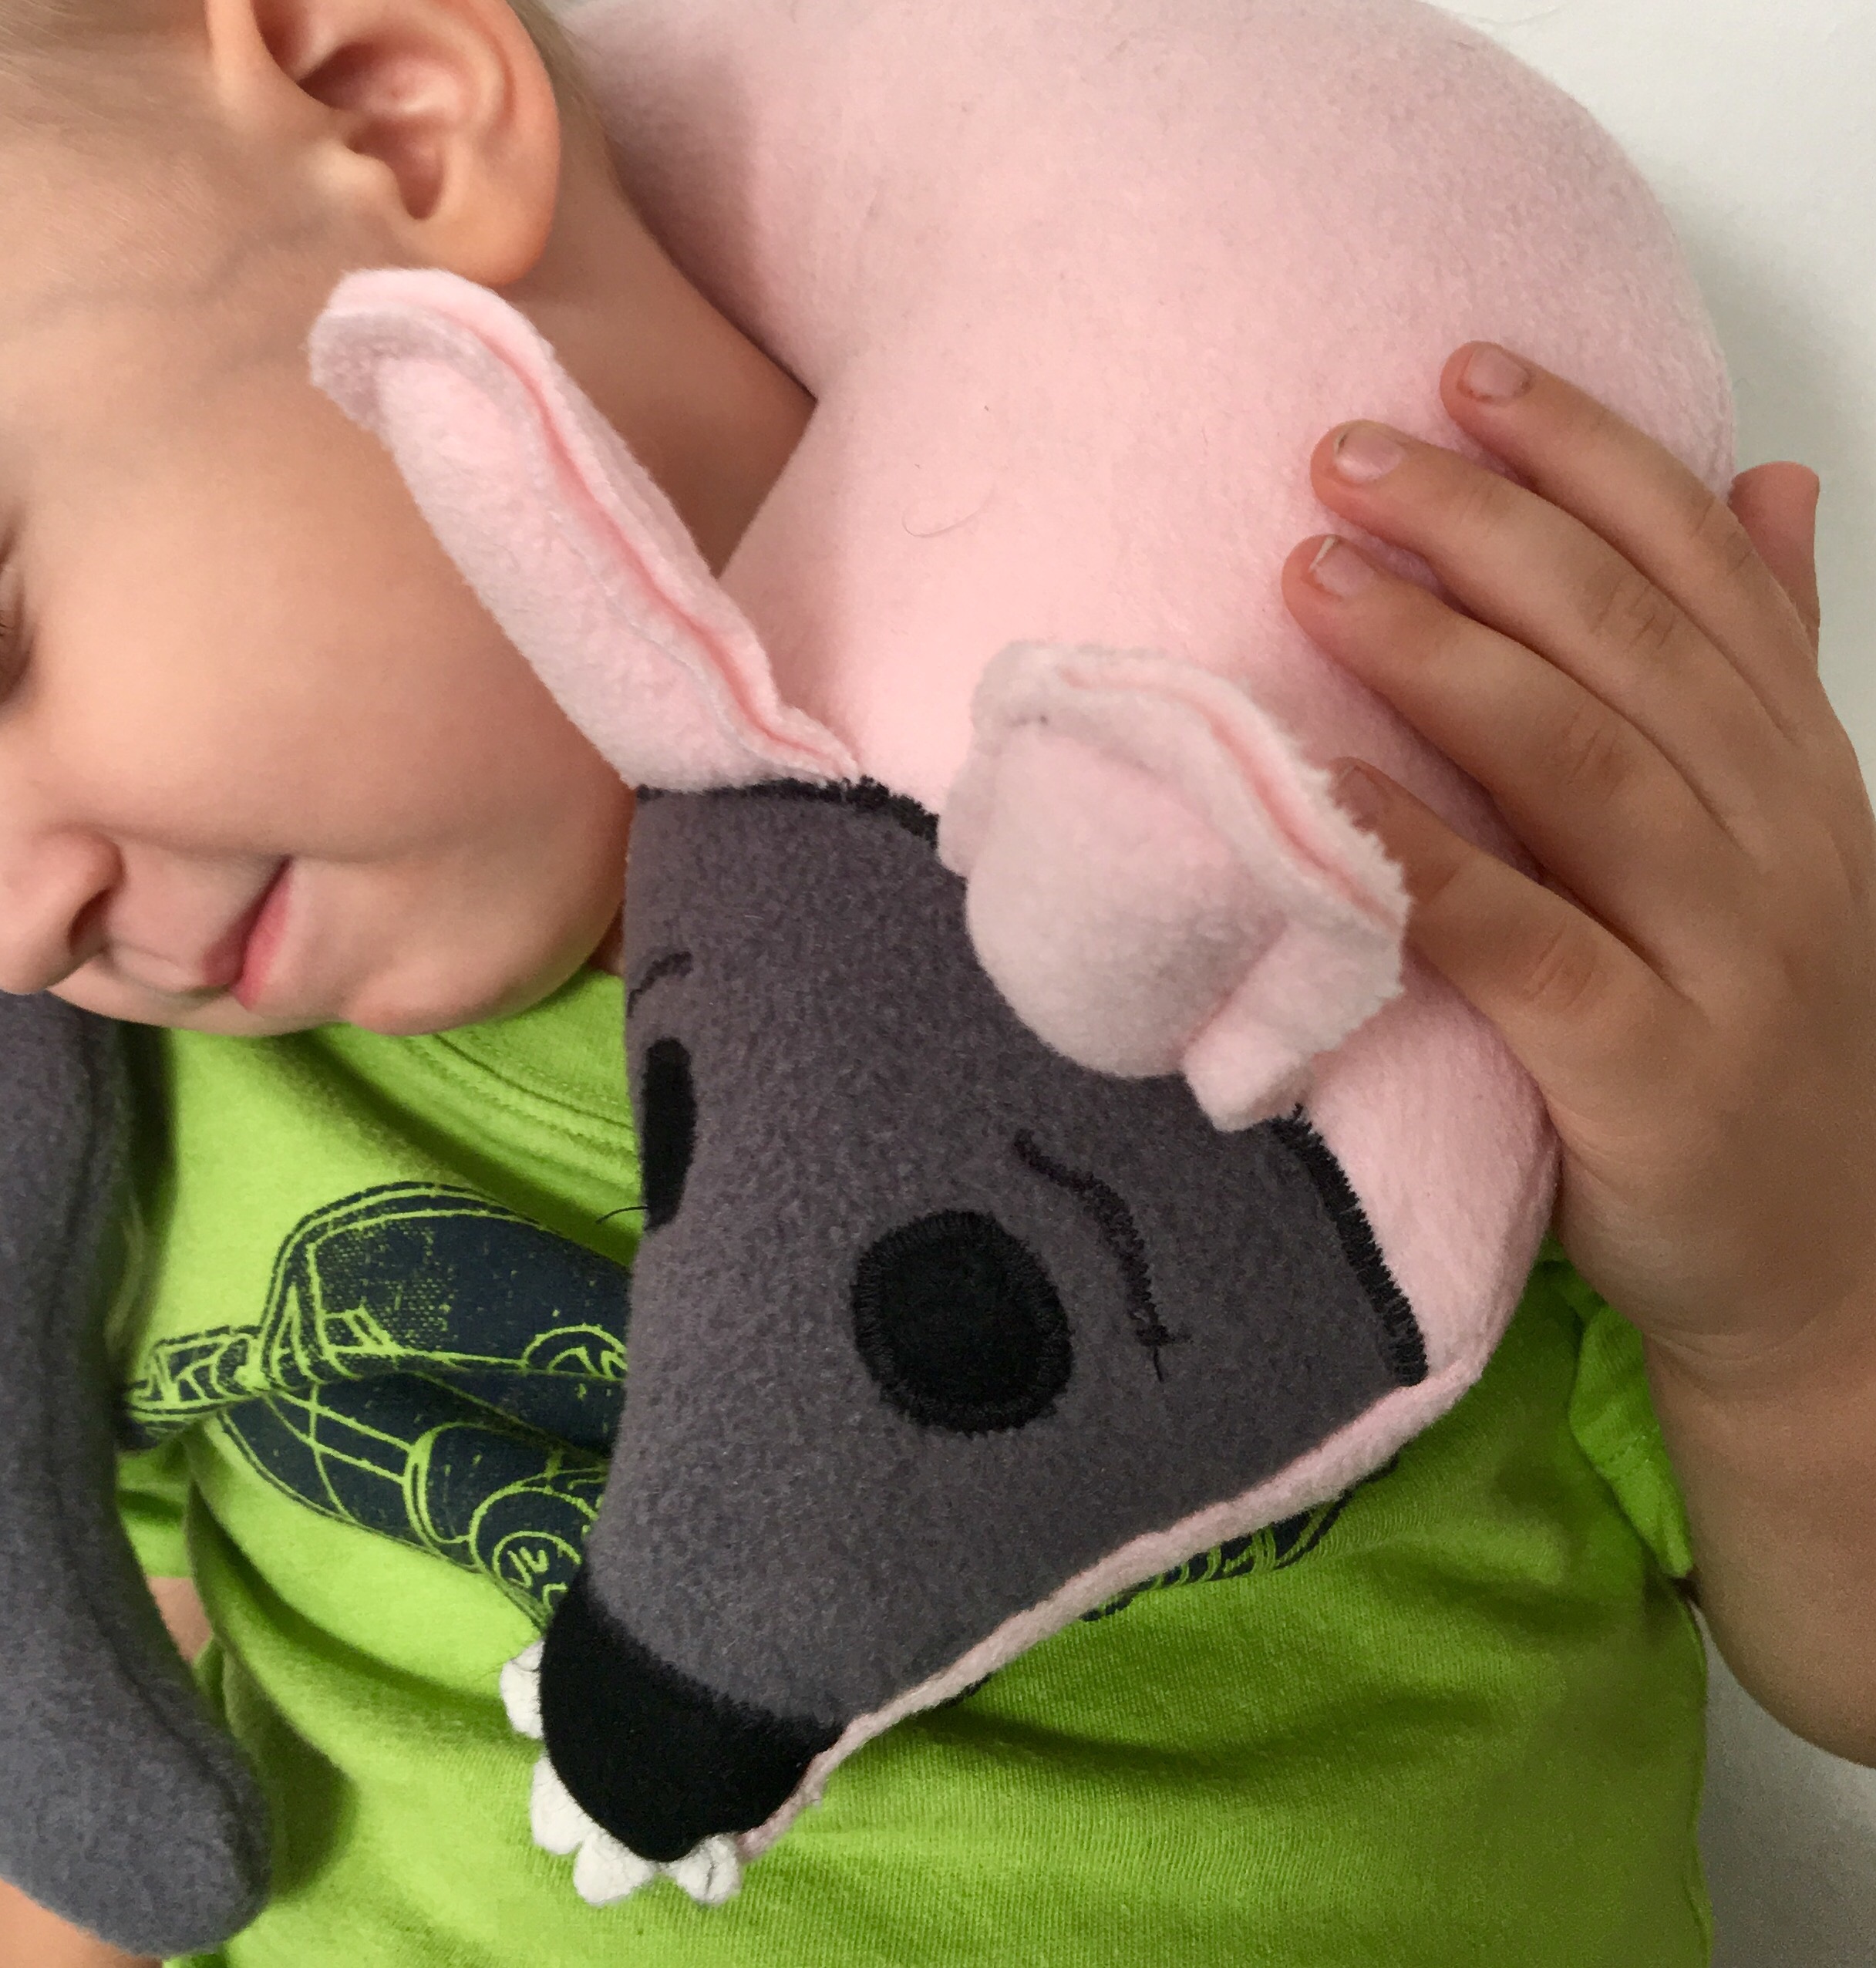